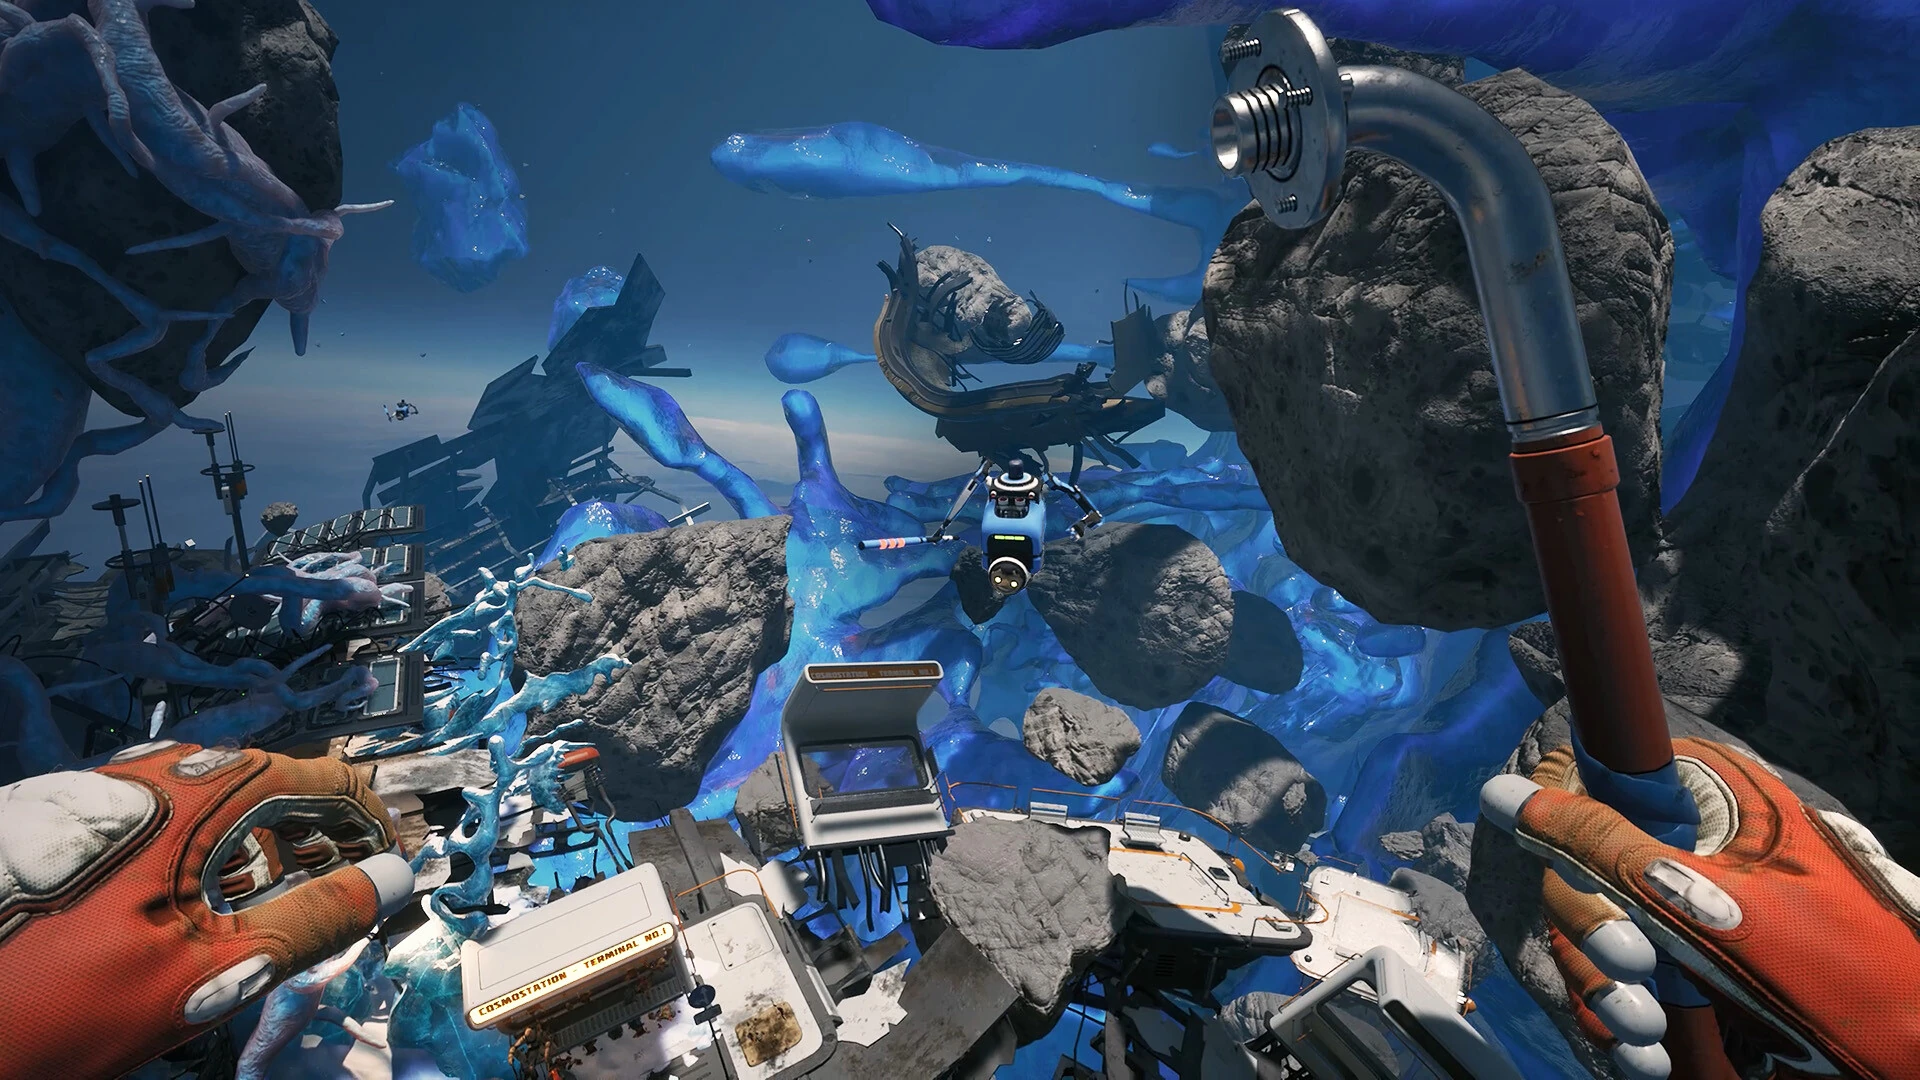
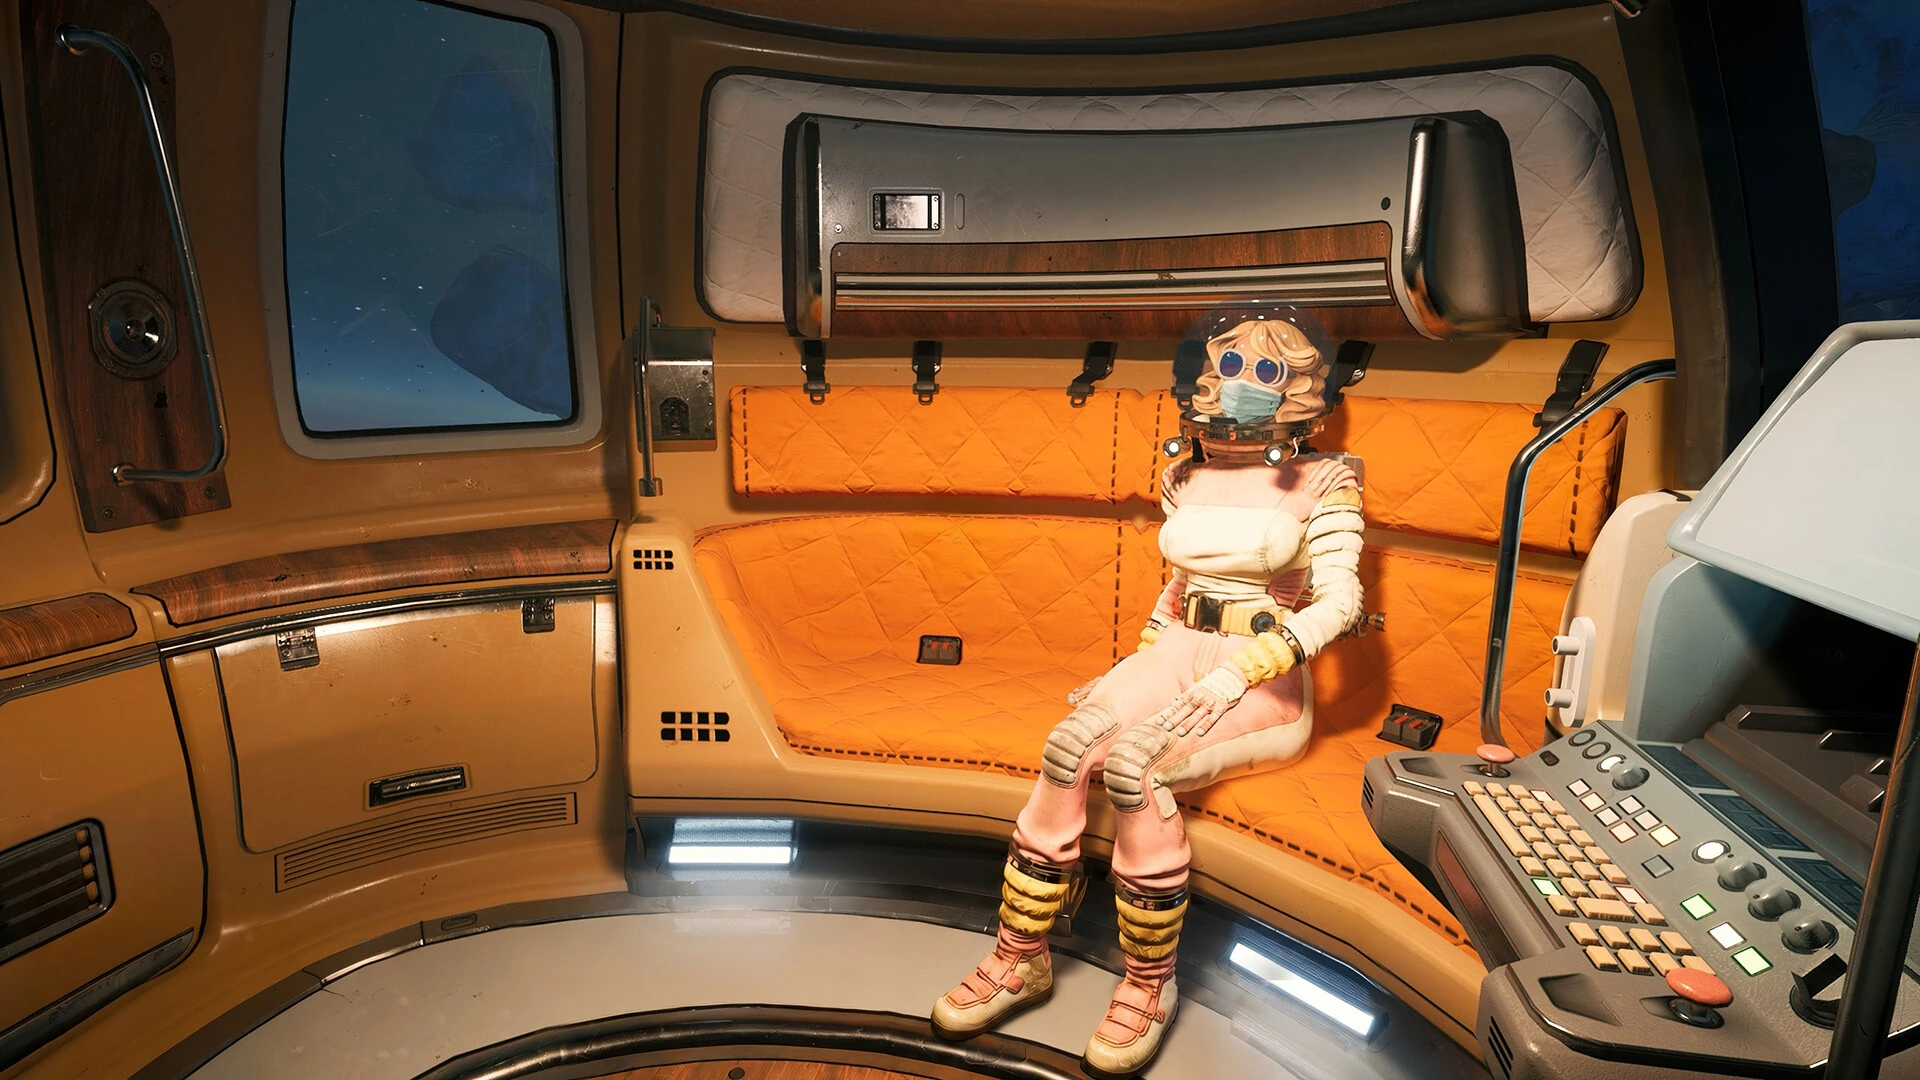
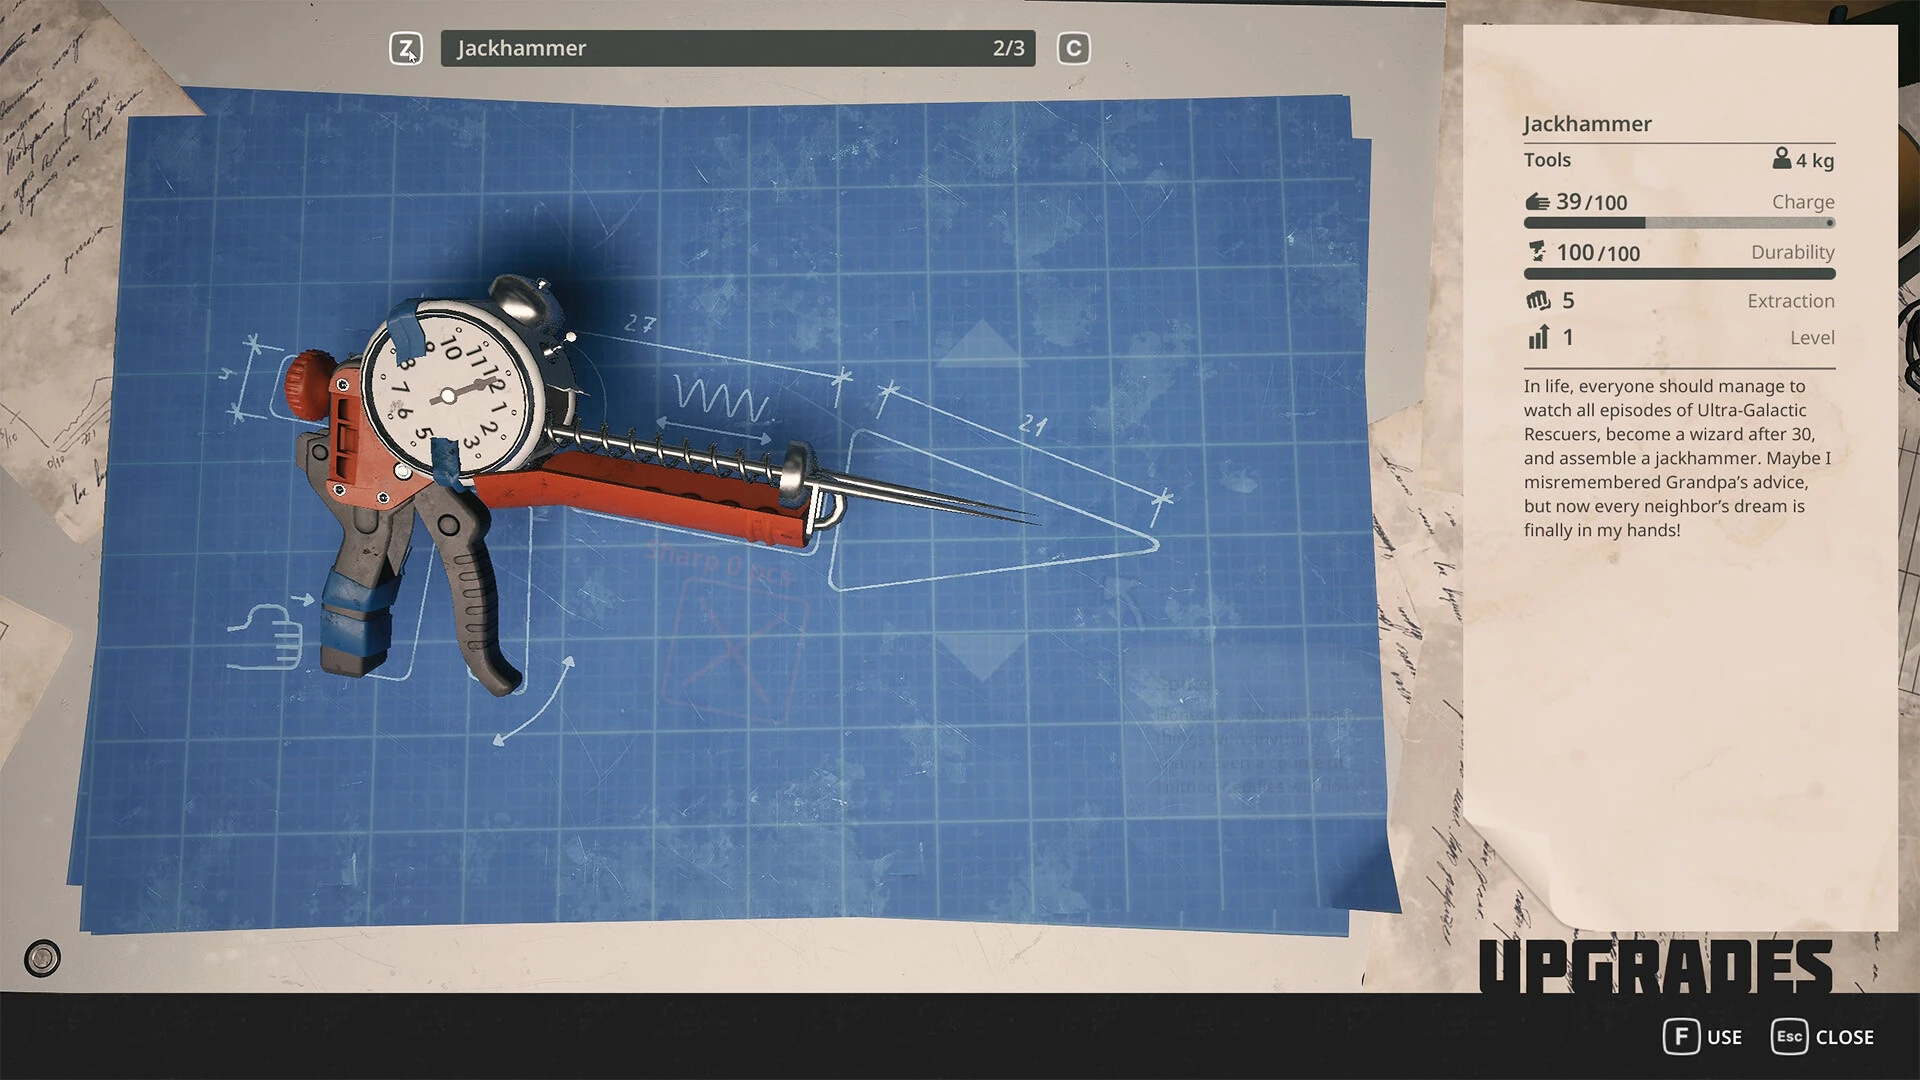
Find the early power interaction and distinguish mandatory progression from the surrounding repairs.
From the phone booth to power
After the crash, the opening walkthrough has you make the Scrap tool with 2 Metal and break the phone-booth lock. Metal is available in chests behind the train platform. The power generator is above the platform; a nearby frozen battery can be freed and inserted.
Treat this as a short chain of objectives rather than a request to repair everything visible. Read the next task after each interaction. When the game moves on, follow that requirement before spending materials on a different broken object.
Find the pantograph
The requested pantograph is on the train roof beneath the glass awning. After that interaction, inspect the damaged equipment inside. The interphone work leads to wiring on the platform floor; looking only at the phone itself can miss the repair target.
When a task sends you to inspect equipment, actually approach each marked component. It is easy to collect materials for a machine before the game has registered the inspection that introduces it. Check the journal before leaving for another supply trip.
Prepare a repair list
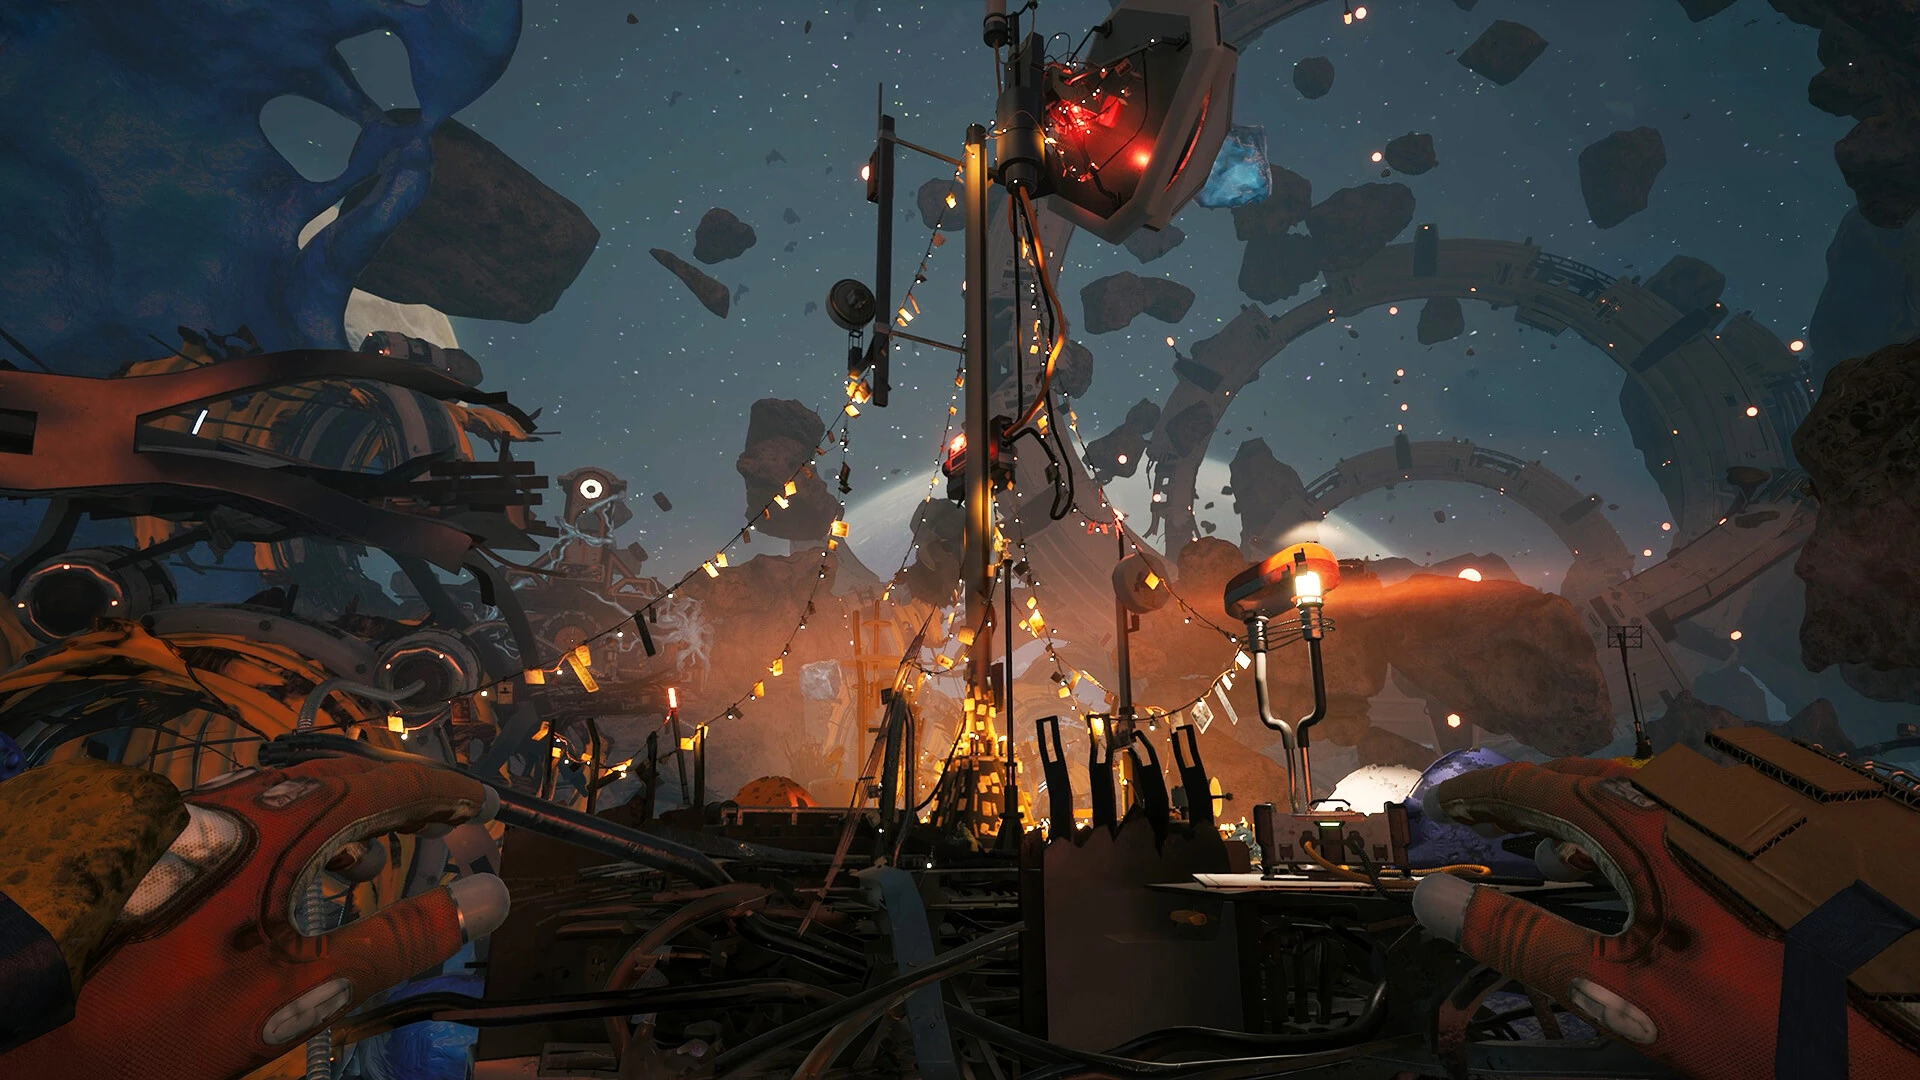
Use the live repair prompts to write a short materials list. Keep each machine on its own line so you can finish one useful repair rather than scattering your stock across several unfinished projects.
If one ingredient blocks several machines, focus the next scavenging trip on that ingredient. Once back at the train, spend it according to the task you selected before leaving. This avoids changing plans every time a different broken object catches your eye.
If the train seems to trap you
The launch-week patches addressed train-door range, carried-object doorway handling, and camera trouble around the train lamp. Install the current build before treating those symptoms as intended puzzle mechanics.
For a persistent issue, put down the carried object in clear space and describe exactly where the character became stuck. Check whether the problem involves movement, the camera, a door, or an objective that failed to update; those are different failures and need different evidence.
Before leaving the opening area
Confirm that you know which facilities work and which still need repair. Choose a return landmark outside the train and identify the next objective. You do not need to remember every prop; you need a reliable homeward route and one clear next action.
Make the next repair trip specific
When two repairs share an ingredient, mark the quantity against the repair it belongs to. A list that merely says wires can make you return with enough for one machine while mentally allocating the same stack to another.
Inspect the repair prompt at the component itself, especially when an object has more than one damaged area. Once it accepts the materials, check whether it needs a separate activation. A powered system, a repaired fixture, and a completed objective are related observations but not identical ones.
Use the working train as a place to prepare a complete next outing. Review supplies, tool choice, and the exact next objective together. If you cannot say what the outing will finish, spend another moment reading the current requirement before departing.
Use the train as a set of separate projects
A damaged interior can encourage you to treat every broken fixture as one enormous repair job. Split it into the individual objects the game asks you to inspect. For each, record whether you have identified the requirement, supplied it, and confirmed the result. This turns a visually busy space into a manageable list.
Keep main progression and preparation projects visible but separate. A story interaction may be the next mandatory step, while a useful fixture supports later outings. The right priority depends on what presently stops you from doing the next task. Do not assume that every optional repair must be finished before you can continue, or that a useful preparation repair can always wait indefinitely.
A simple project entry can read object name, missing input, next interaction. Avoid writing merely repair train, which tells you nothing when you return from gathering. The aim is to arrive with a specific component and know where it belongs.
Once a project works, mark it complete in your note. Reinspect it only if its behavior later gives you a reason. Rechecking every finished fixture during every return creates busywork and makes the unfinished project harder to notice.
Distinguish power restoration from other unfinished interactions
When the environment changes after a power-related action, observe what actually became usable. A visual change can tell you that something happened without establishing that every nearby fixture is ready. Approach the object you need next and inspect its current state.
If one fixture works while another does not, that difference narrows the problem. The second may still need its own repair, input, or activation shown by the interface. Repeating the entire earlier power sequence is not the most informative first test.
If the expected system shows no change, compare your last action with the active objective. Did you bring the requested object to the correct place, and did the placement complete? Describe what is installed rather than what you intended to install. A carried component and an accepted component are different states.
Do not assume a particular electrical behavior merely because it would make sense in the real world. Follow the game’s current interaction and visible result. This guide describes the verified opening landmarks above; it does not add hidden switches or invented circuit rules to explain an uncertain screen.
Allocate one repair’s materials before starting another
Inspect the live requirement for the project you chose, then reserve those inputs in your planning note. If another fixture uses the same material, do not count the reserved quantity again. This is the most common reason a promising supply trip can leave every repair just short of completion.
Consider a hypothetical pair of repairs. One requires two units of a shared ingredient, the other requires five, and you hold six. Completing the smaller one leaves four for the larger one, so you still need another unit. Completing the larger one leaves one for the smaller. Neither order avoids the shortage; the choice should come from which working result helps you next.
Use the actual game quantities for your real plan. The example simply shows why finishing a project and almost finishing two projects produce different outcomes. A functioning facility can be used and evaluated. Two unfinished facilities continue to demand attention without resolving the need that sent you gathering.
When an ingredient is processed rather than raw, check its recipe output before calculating the trip. Keep the prepared amount separate from the raw amount still needed. This prevents a second kind of double counting, where material waiting to be converted is mentally treated as already ready for installation.
Recognize the repair target when several components overlap
An objective can name a large device while its repair interaction belongs to a small component. Inspect the surrounding parts and watch the prompt. If the wording changes when you move your aim, identify the prompt that matches the current task.
Do not rely only on a screenshot’s camera direction. Approach angles can make a floor component, side panel, or fixture look as though it belongs to the object behind it. Use the prompt and nearby landmark together. That gives you a reproducible target when you return with materials.
After the repair accepts its inputs, look for a changed interaction or a newly available action. If the task remains active, read what it now requests before gathering more. A device that still looks damaged from one angle may nevertheless have completed the specific step, while another part awaits attention.
When uncertain, record the before-and-after wording. This is a useful way to separate a missed final activation from a material requirement that was never accepted. It also makes asking for help much simpler than describing the whole train as still broken.
Prepare the return before carrying an awkward object
Some opening interactions involve moving physical objects rather than just adding items to an inventory. Before committing to a carry, look at the route into the train or toward the target. Identify any opening where your view or the object’s shape could make positioning difficult.
Carry one object at a time when that keeps the task understandable. If you need to reposition, pause in clear space and check which direction the target lies. Avoid stacking several loose objects in the place you intend to pass through next.
If a doorway behaves unexpectedly, distinguish the carried object from the character. Did the object stop, did the door close, or did the character become unable to move? Those observations imply different tests. Putting the object aside, when appropriate, can establish whether the difficulty follows the object or remains with the doorway.
The documented launch fixes give specific examples of physics problems, but they do not establish a universal workaround. Keep an affected state for a report if the issue repeats. Do not repeatedly force the same object through the same opening while adding more loose items to the scene.
Use each return as a short preparation stop
When you return with the required material, finish the chosen repair before opening another project. Confirm the result, then check the preparation needed for the next outing. This keeps a return from becoming a long period of unplanned inventory rearrangement.
Decide the next task only after the current result is clear. A working fixture may change what you need to gather or how far you are comfortable traveling. If the repair did not work, identify the mismatch while the trip is still fresh in your memory.
Keep the process short: deliver, confirm, prepare, choose the next action. The order helps because each step supplies information for the next. Choosing a new distant objective before confirming the machine you intended to rely on can create an avoidable interruption later.
You do not need to optimize every visit. A reliable routine that you can remember is better than an elaborate plan you abandon whenever the story changes. Adjust it when a new facility or requirement gives you a concrete reason.
Diagnose a stalled opening without throwing away the run
Begin with the last objective you know completed. Read the current task and identify the first action you cannot make the game recognize. Keep the diagnosis there. Replaying everything mentally from the opening cutscene can obscure a much smaller problem.
Check whether the mismatch concerns an object, an input, or a state transition. An object problem means you cannot find or select the target. An input problem means the expected action does not occur. A state problem means an action appears to finish but the objective does not change. These descriptions give a walkthrough or support report a useful structure.
If the issue matches a documented launch fix, verify the installed update before retrying. If it remains, describe the result rather than repeatedly recreating old instructions. Preserve a usable save or the affected state where possible; restarting is a significant loss of progress and should not be the automatic response to one unclear prompt.
Before ending the session, write the precise unfinished action and any test you already completed. On returning, you can resume the investigation at that point. Even when an issue needs a later patch, a clear record prevents you from spending another evening repeating the same uninformative attempts.
Keep a departure card for the next session
A departure card is a short note, not a game feature. Write the next objective, the tool or component needed, the preparation you still need to finish, and the landmark you will use on return. Keep it beside the saved session information so you can resume without opening every repair prompt again.
For example, a useful note might say that a particular fixture is now working, one named component still needs material, and the next outing will collect that material from an object you already identified. Avoid adding quantities from memory if you did not record them; leave a reminder to inspect the prompt instead.
When you return after an update, treat the card as a record of what you knew at the time. Check the current objective and change the card if the game now asks for something different. This is especially valuable during Early Access, when remembering why you stopped can be as important as remembering where you stopped.
Once the next action is complete, replace the card rather than accumulating pages of obsolete instructions. Your note should describe the next decision, not preserve every previous errand. That keeps the train useful as a clear starting point for another outing.
Sources & verification
This article combines cited facts with practical editorial advice. Follow the version and uncertainty notes before applying an older route.