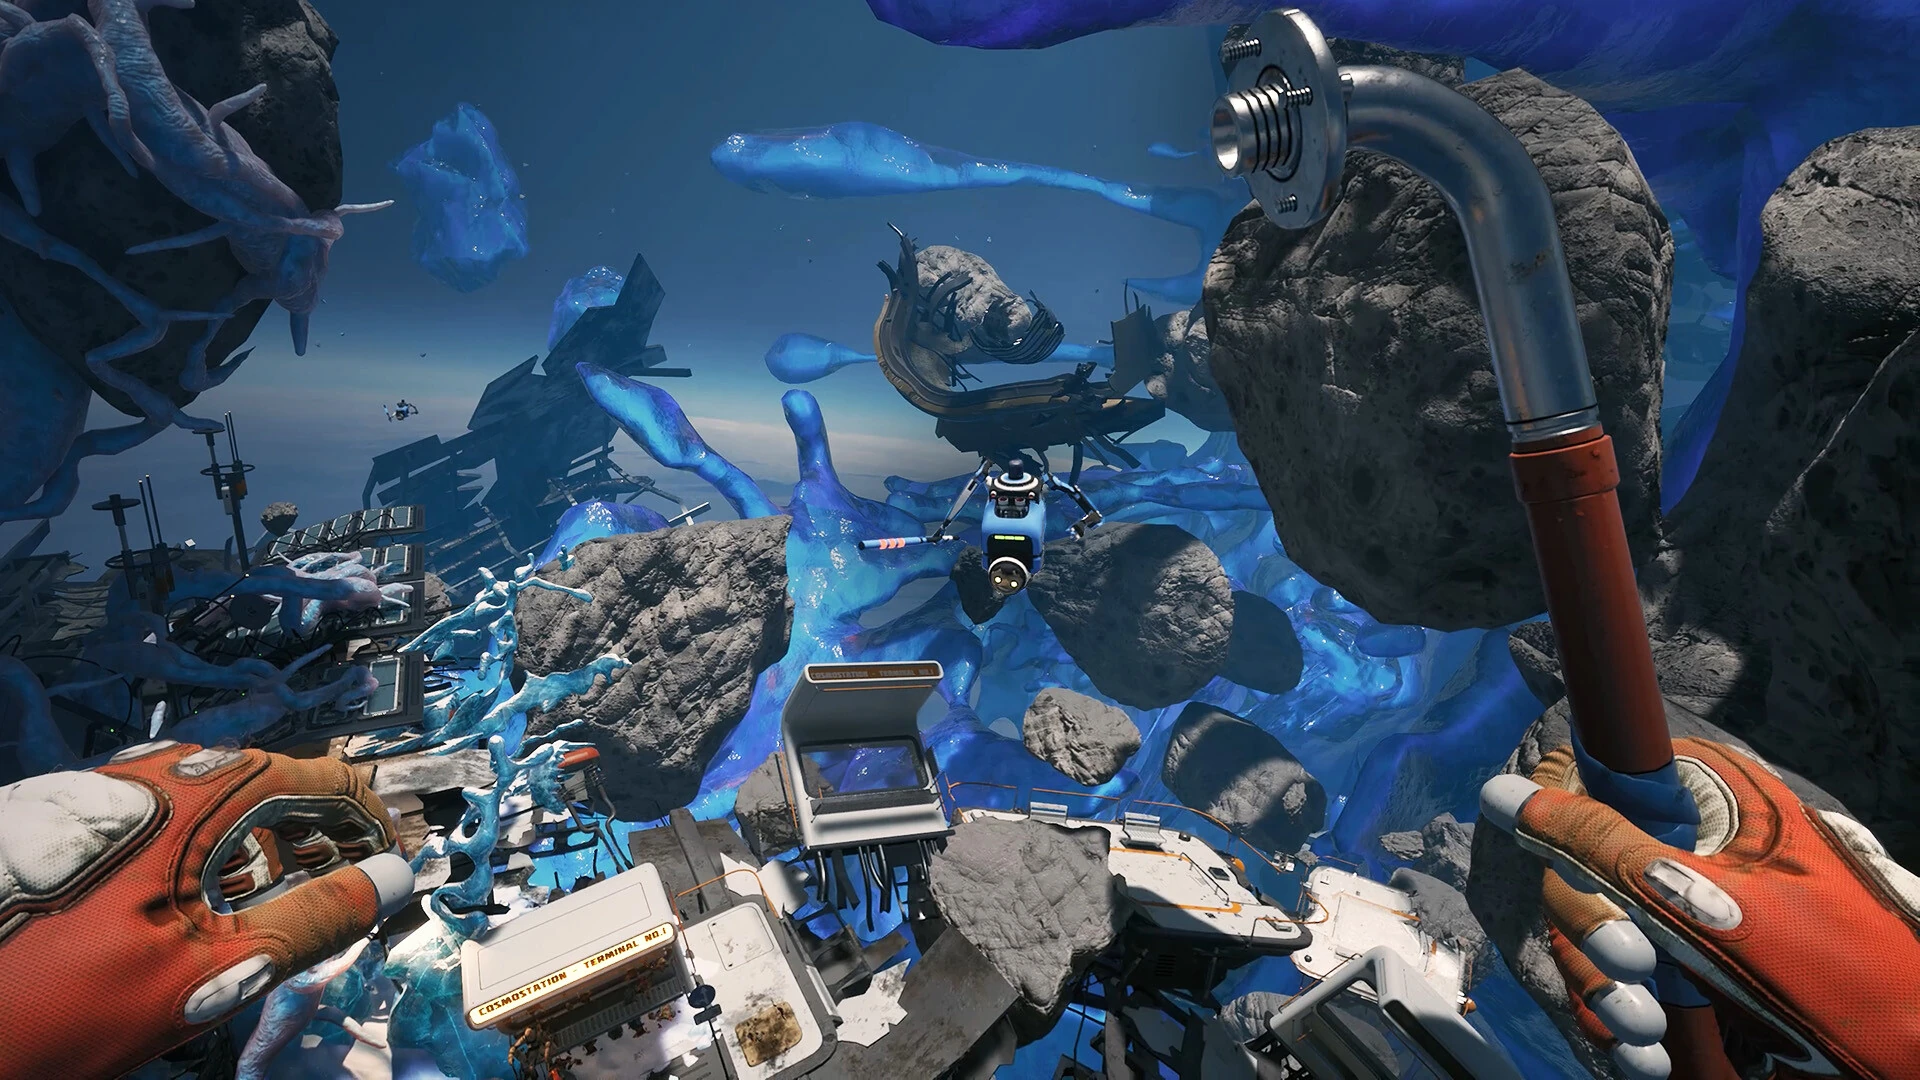
Use the official 20-meter search area and a simple sweep to find displaced letters.
The letters were moved deliberately
The developer clarified in Hotfix 0.8.7 that taxi letters now occupy a roughly 20-meter radius instead of the single pile seen in the demo. Different placement is expected, not evidence that your save has lost the quest items.
Start at the sign and search the surrounding volume. In space, a radius includes objects above and below the platform. A sweep at eye level alone can leave large portions of the relevant area unchecked.
Use landmarks for the first pass
Neoseeker places C in front of the sign, R toward the water-tower side, and L below the two drinking robots. Treat these as current player-observed starting points and use the wider official radius if your view does not match.
Face the same landmark before interpreting left or right. If you approach from behind, reverse the direction mentally rather than flying away to a different structure. Search around the landmark itself, not an imagined compass bearing.
Search systematically
Work around the sign in one direction and inspect a narrow band at a time. Complete the platform-height pass, then look below its edges and above the nearby props. Keep returning your view to the sign so that you do not gradually drift into unrelated debris.
When you locate a letter, finish the placement interaction before looking for another. Confirm the visible change on the sign. This creates a simple record of what remains and avoids mistaking an already handled object for the missing one.
If one still seems absent
Make a second pass from a different height or angle. A letter can blend into clutter when viewed edge-on, so changing your view is more useful than repeating the same straight approach.
Check the game version and the date of any video you are following. If the search still fails, capture the sign and the surrounding objects, record which letters are already placed, and describe the area you checked. Do not restart your run solely because the demo arrangement is absent.
Do not confuse letters with the taxi search task
The player walkthrough also describes searching a parked taxi through its hood, trunk, and two glove compartments. Those searchable compartments are separate from fitting the loose letters to the sign.
If the sign is complete but another taxi-related objective remains, read that objective before restarting the letter search. Likewise, inspecting a compartment does not establish that every letter has been placed. Keep those two task states separate in your notes.
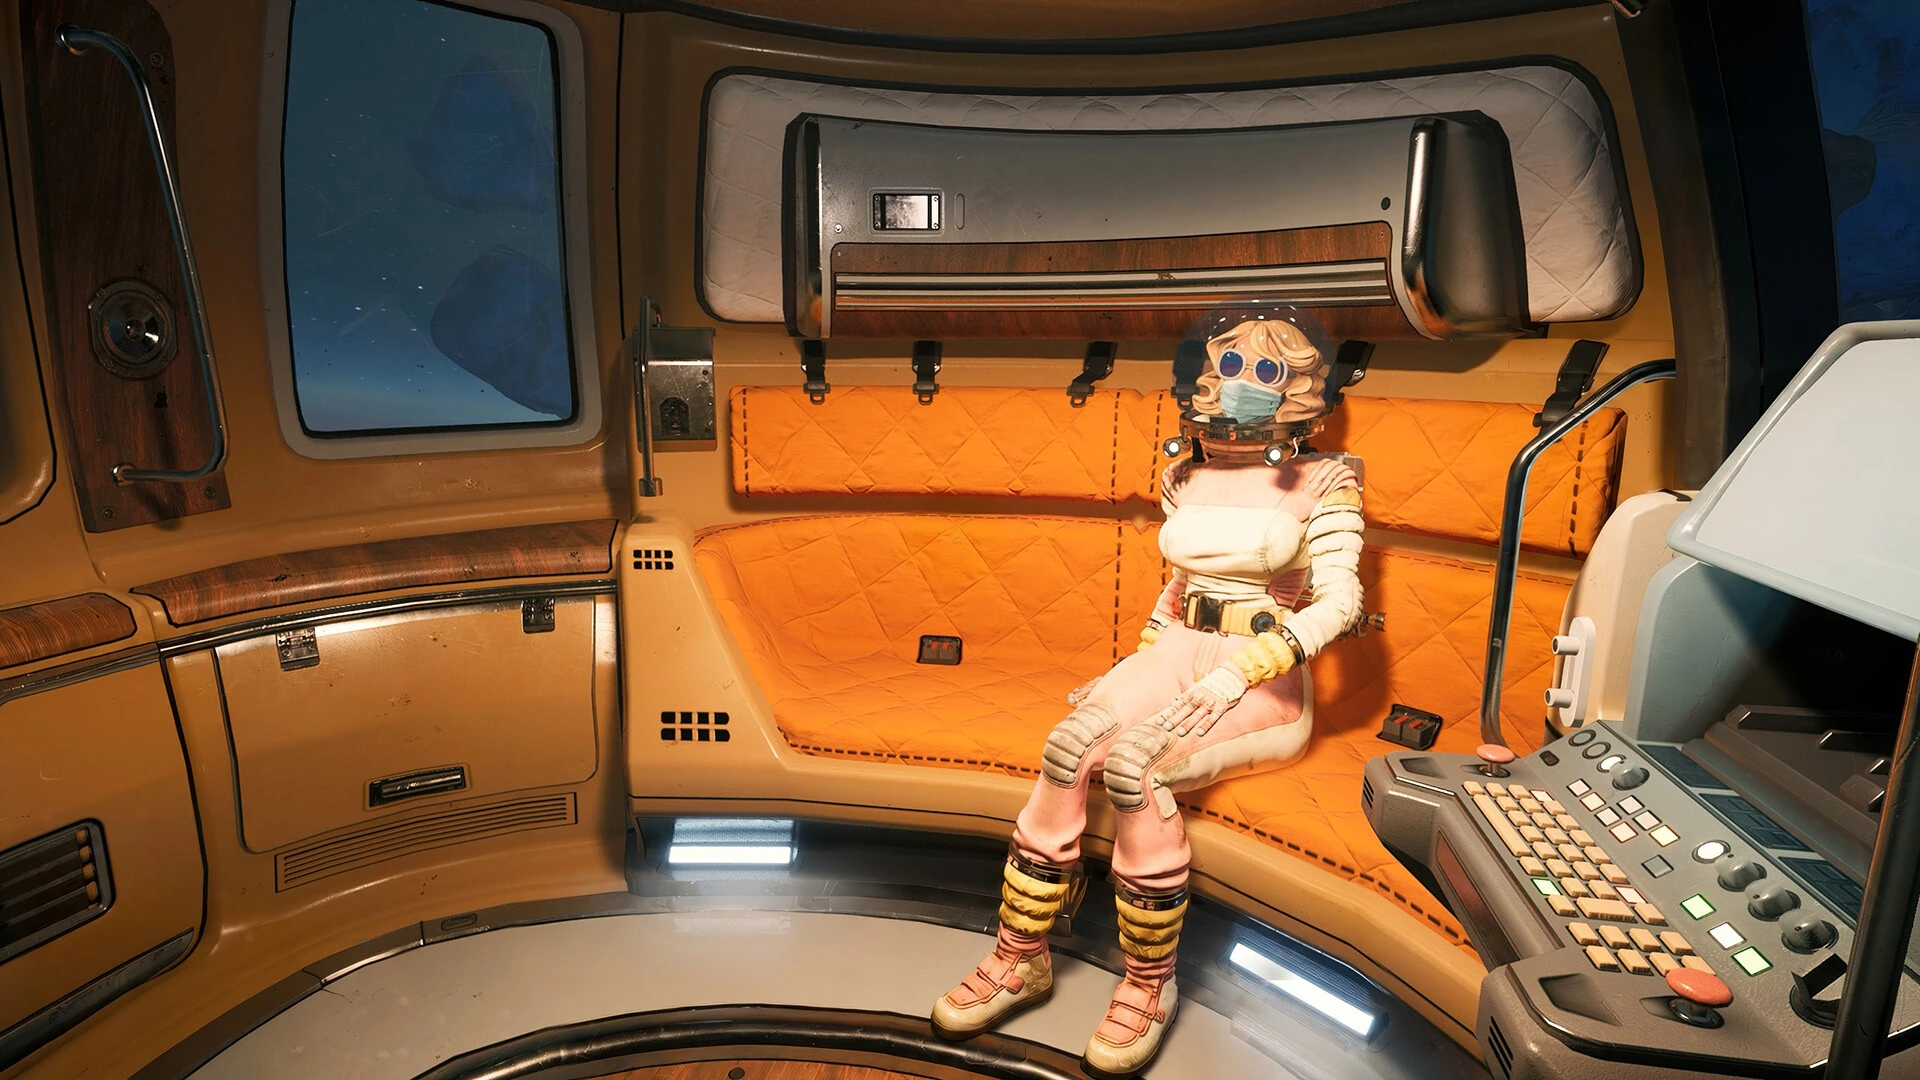
When using a screenshot, identify whether it shows the platform sign or the vehicle interior. The same location name can cover several interactions, and a guide image of one should not be mistaken for the target of another.
Optional detail: define the search before widening it
The short answer above gives the current placement guidance. If a letter still escapes you, the following sections offer an optional search method. They are editorial techniques for covering space, not a new map or a claim about exact spawn coordinates.
Use the sign as the reference for your search. Identify it from the side you are approaching and keep nearby large structures in view. Before moving away, decide what part of the surrounding area you will inspect first. Without that decision, each turn can feel like new ground even when it repeats a previous view.
The developer’s radius limits the relevant area but does not tell you how to see every object inside it. Treat the problem as visibility and coverage. Search deliberately near the platform, then inspect the space above and below the edges instead of assuming the letters lie on one flat surface.
Do not expand the search indefinitely just because the first view is empty. Return to your reference and inspect an unsearched portion. A bounded, recorded search is more informative than drifting farther away while losing track of the object that defines the task.
Build a local reference frame
Left and right are useful only when you know which way the description faces. Before interpreting a player’s landmark directions, place yourself relative to the sign and compare the surrounding structures. If you approached from the opposite side, the direction words will naturally reverse.
Prefer relationships that remain recognizable: under an edge, between two visible structures, or beside the water-tower side described above. These relationships survive a change in your camera angle better than a direction remembered without context.
You can describe your own frame in a short note: facing the sign, platform below, large landmark to one side. Then use that frame consistently during the search. The note is not a compass system provided by the game; it is a way to keep your own directions stable.
If you become disoriented, return to the sign before searching again. Recovering a known viewpoint is often more useful than trying to continue a half-remembered sweep from an uncertain angle. You want each pass to cover new space rather than create another ambiguous memory.
Search by viewpoint rather than frantic motion
Pick a small portion of the area and inspect it while your position is reasonably stable. Then move to another viewpoint that reveals what the first could not. Changing position and aim constantly can make small objects difficult to distinguish from background clutter.
An object viewed edge-on may be less recognizable than the same object seen from another side. If a likely area appears empty, change height or lateral position before concluding there is nothing there. This is a visual-search principle, not evidence that a particular letter must be hidden behind a particular prop.
Pay attention to occlusion. A platform edge or large piece of wreckage can block part of the nearby volume. One high pass and one lower pass can reveal different spaces even when both are close to the same landmark.
Avoid turning the method into a rigid ritual. If you see the letter, retrieve it. The purpose of controlled viewpoints is to help when ordinary looking has failed, not to require a complete survey before you are allowed to finish an obvious interaction.
Keep found, carried, and installed states separate
A found letter is not necessarily an installed letter. After picking one up, return to the intended sign and complete the placement. Confirm the visible result before assuming that part of the task is done.
If you set a letter down during the carry, record that location. Its original guide location may no longer be relevant. Searching the original spot again will not establish where you left the object after moving it.
A useful progress note lists what is visibly installed and what remains to be checked. Do not rely entirely on a memory of having touched or grabbed something. The sign’s current state gives a better starting point for the next search.
If placement does not work, inspect the target interaction rather than immediately searching for a duplicate. Confirm that the carried object belongs to this task and that the selected part is the intended attachment point. A delivery problem and a missing-object problem deserve different next actions.
Work through a partial-search example
Imagine that you checked the space directly in front of the sign and found nothing, then explored one platform edge before returning for supplies. On the next outing, do not simply repeat the same forward approach. Resume from the unchecked side or a different height.
Your note might say front view checked, one edge checked from above, underside not inspected. That tells you exactly what new information the next pass should produce. It does not claim that the missing letter must be underneath; it identifies the gap in your own coverage.
Suppose the next pass finds a letter but you cannot immediately place it. Change the note from missing to found, placement unresolved. The search has succeeded at one stage. Keeping that success visible prevents you from restarting an object hunt when the remaining question concerns the interaction.
Finally, if the letter is placed and the sign changes, recheck what remains. A partial task can become confusing when you carry forward an old count. Update your progress from the visible state instead of assuming the original list still describes the problem.
Use footage as a landmark reference
When a video does not match, first compare the game and build. Demo footage can still help you recognize the general area, but the current placement clarification takes precedence over its arrangement.
Look for stable visual relationships rather than trying to reproduce the camera path second by second. Identify the sign, platform, and distinctive neighboring objects. Then search their current surroundings using the guidance above.
If the footage is labeled current but differs from your scene, do not immediately call either account false. The camera angle, an already moved object, or a different task state can explain an apparent mismatch. Compare those details before treating the difference as a bug.
When you share a discrepancy, describe what differs. Saying the video shows a pile while the current area does not has a clear version explanation. Saying a particular object was moved and is now missing needs its movement history. Those are separate questions even when both involve the same letters.
Plan breaks in the search
A search that depends on small visual details becomes less useful when you no longer remember which parts you checked. Pause the search when your coverage becomes unclear, return to a known point, and write one short note.
Use the next outing to inspect one new portion. A defined pass can be successful even if it only rules out a previously obscured area. What matters is that it adds information you can retain.
Do not spend the supplies needed for the return on an unstructured final sweep. If the search remains unfinished, preserve the reference point and next area. This turns a break into a continuation rather than a reset.
You can also leave the optional task temporarily if your current objective permits it. Returning later with a fresh view is different from assuming the quest is permanently broken. The source guidance identifies the local search area; it does not require completing the search in a single outing.
Prepare evidence when the bounded search still fails
Record the game version, the letters already installed, any letter you moved, and the areas checked relative to the sign. Include whether you followed a demo route or the current guidance. Those details let another reader understand your actual task state.
A screenshot of the sign shows what is installed; a wider view establishes the surrounding reference. If the issue is placement, show the carried object and prompt instead of only the empty area where you originally found it.
Avoid claiming the item never spawned if you are uncertain whether it was previously moved. State that you cannot locate it after the described search. That is an accurate observation and still provides a useful support question.
Once you have a clear report, stop repeating the same unproductive pass. Preserve the state and continue another available task if you wish. The goal is to finish the assembly or identify a precise unresolved problem, not to turn one missing letter into an endless search through unrelated wreckage.
Compare screenshots without losing the search state
If you keep a reference image open, match the large structures first. Identify the sign, the edge of the platform, and the distinctive neighboring landmark. Only then compare the small-object position. A similar-looking background from the opposite side can make the same location appear entirely different.
Do not move a found letter back to an earlier position just to make your scene match the image. Your current state is the useful one. Record where the object is now and finish the interaction if you can. Recreating an old screenshot adds handling without helping completion.
When taking your own image for a later search, include enough of the sign to establish orientation. A tightly cropped patch of empty space tells you little after you return. Pair the image with one short note about which direction remains unchecked.
If the image was taken before you placed another letter, update the note rather than relying on the old picture alone. Screenshots preserve a moment; they do not track changes that happen afterward. The installed state of the sign should remain the primary record of completed work.
For a help request, choose the image that answers the actual question. Use a wider view for location and coverage, or a closer view of the object and prompt for placement. This keeps another player from giving you a search route when your remaining problem is already at the sign.
Sources & verification
This article combines cited facts with practical editorial advice. Follow the version and uncertainty notes before applying an older route.