Keep survival upkeep manageable with a simple departure routine and current balance information.
Use the available survival facilities
Current walkthrough coverage identifies food in breakable supply crates, ice as an input for drinking water, and a sleeping station aboard the ship. Check these systems before a long outing instead of waiting until one need interrupts a repair.
A practical departure routine is to read all your survival indicators, prepare the supplies you need for the intended trip, and confirm that your return point is usable. The right amount depends on your progress and observed consumption; no single ration count fits every route.
Plan around the lowest reserve
If oxygen looks healthy but another need is close to its limit, the outing is still poorly prepared. Look at the whole group of indicators together. This prevents the familiar mistake of extending a trip because the one meter you watched still looked fine.
When several needs are low, handle them at the same stop. Repeated departures for individual supplies add travel without advancing your objective. Make your next outing a specific materials run rather than a broad exploration session.
Check which balance you are playing
Hotfix 0.8.6 reduced Standard-mode food, water, and fatigue drain by 15 percent. Early launch impressions may therefore describe a harsher pace than the patched game. The change is not a statement about oxygen or every difficulty.
If the current pace still interrupts the part of the game you enjoy, review the difficulty options. Changing the setting is a more direct response than following an old workaround or assuming that your save is defective.
Watch the machine as well as the item
When using a survival machine, confirm the expected result before repeating the action. If you supplied an input but did not receive what you expected, look for the machine status, repair requirement, or unfinished interaction. Do not spend your entire reserve testing the same action.
Set aside the input needed for your next departure before investing the remainder in optional work. This is an inventory habit, not a claim about an exact machine conversion ratio. Published evidence is insufficient here for a complete recipe or nutrition table.
Processing is part of survival preparation
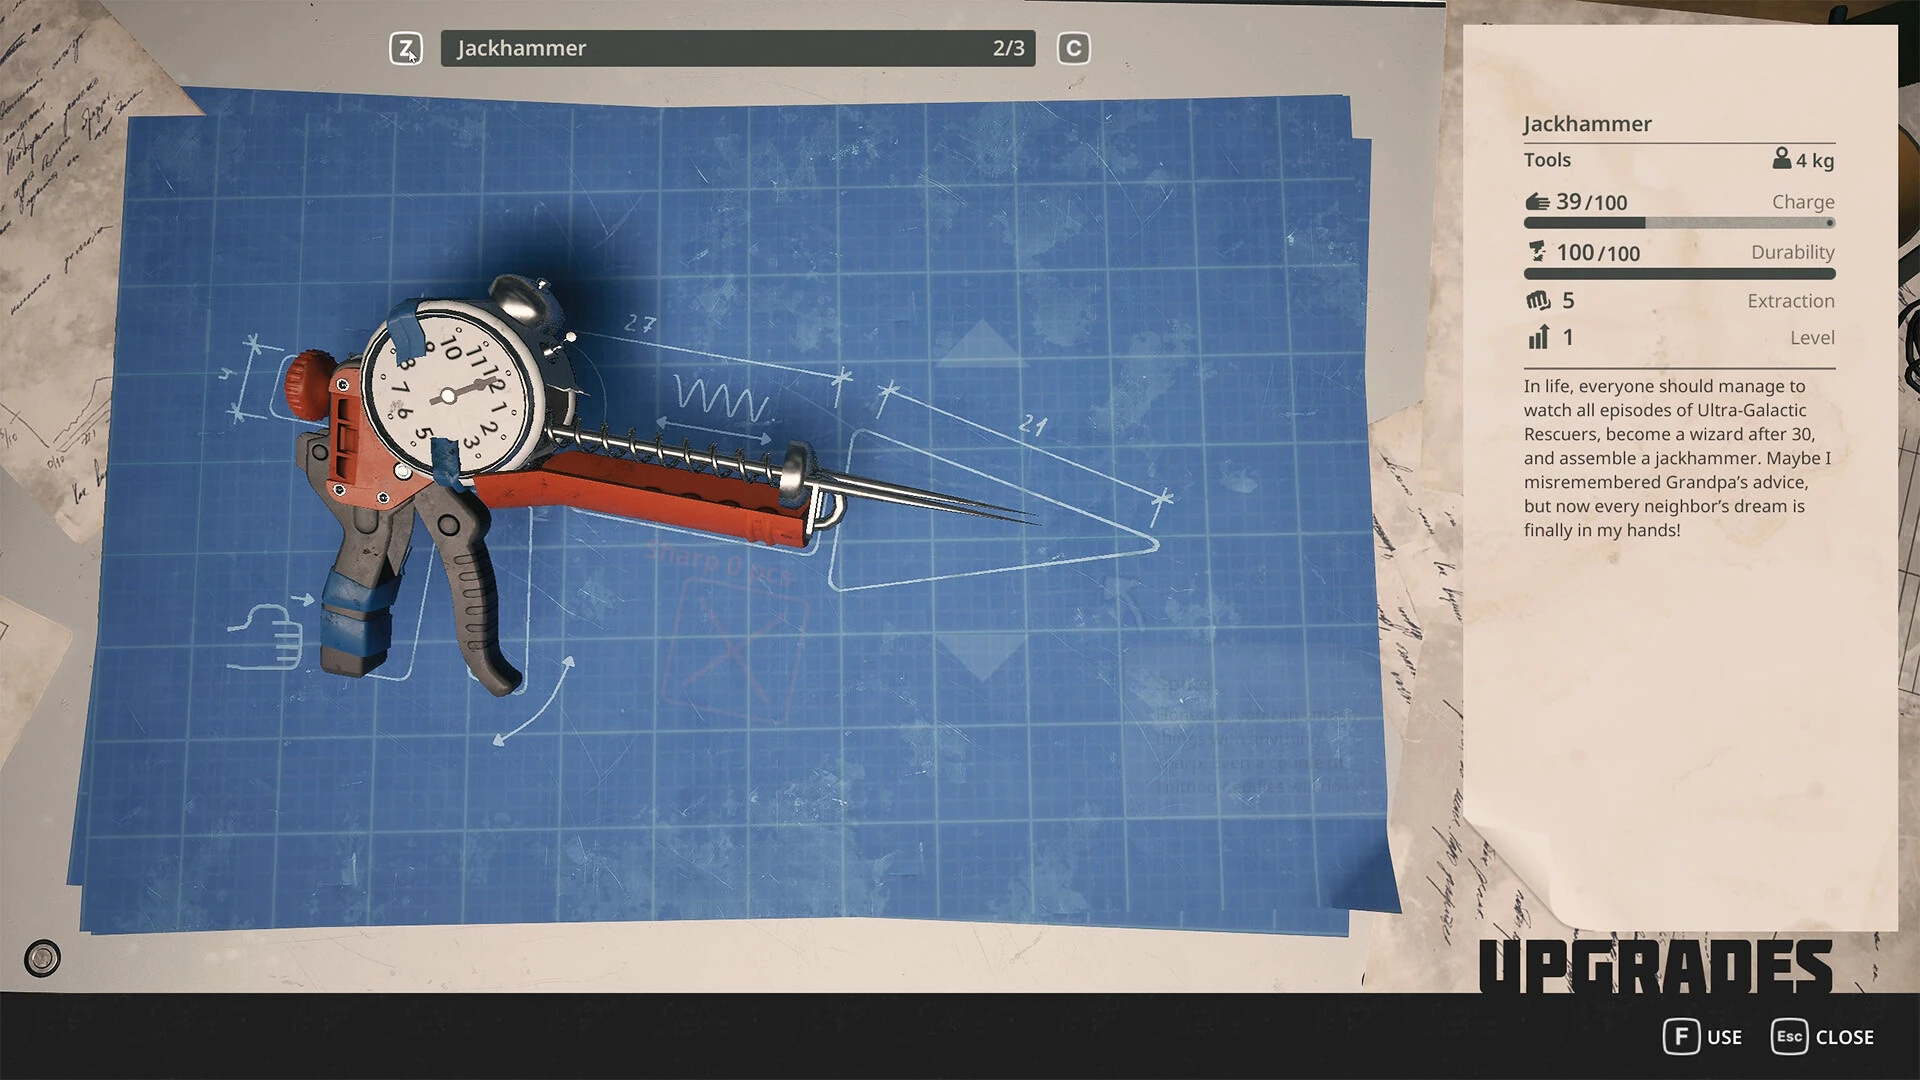
The developer DIY explanation describes processing questionable food instead of eating it directly, and repairing and upgrading a kettle to handle water. Its examples warn about illness from rotten food or dirty ice. This establishes the purpose of the machines; it does not provide a complete current list of food effects.
When choosing between immediate consumption and processing, look at the item description and your current condition. If the machine is available, its intended role is to turn a risky find into a more useful supply. If you are already in an emergency, that is a different decision from how you should stock the next planned trip.
Keep the distinction between a processing input and a ready supply clear in your inventory. A large quantity of gathered material can look reassuring while still requiring a working machine and time at your return point. Prepare the output you need before leaving, rather than discovering the remaining processing step far from home.
Choose a machine upgrade for its actual bottleneck
Neoseeker lists protective materials as kettle processing upgrades and backpacks as kettle capacity upgrades. Its food-machine examples use a Plastic Barrel for capacity and a Gear or Barbell Plate for processing. These are module categories for different jobs, not interchangeable performance claims.
Ask what currently slows you down. If you frequently have to refill a machine during one preparation stop, capacity may be relevant. If you are waiting on its operation, inspect the processing statistic. Neither conclusion should be based solely on the rarity or appearance of the module.
The developer describes intact modules as swappable between compatible uses, with durability belonging to the attached module. Therefore, consider what else needs a useful component before installing it. This is an allocation decision: the same find cannot be assumed to serve several devices at once.
Do not use removal as a free repair
Hotfix 0.8.6 corrected food and water DIY upgrades returning to full durability when removed. Repeatedly detaching a module is therefore not a current maintenance strategy. Inspect its actual condition after moving it.
If the machine becomes less convenient after a swap, compare its displayed statistics with the previous configuration. Keep track of what changed. Moving several modules at once can leave you unsure whether the problem is capacity, processing, condition, or an unfinished machine interaction.
Give ice a job before spending it
Ice has more than one early use. Set aside what your oxygen plan requires before deciding how much to process for drinking. Reserve the amount shown by the current crafting or machine interface rather than following a fixed stack size from another player.
Suppose, as a planning example, that you return with a small ice reserve and need both a drink and a carried oxygen item. Check which need must be resolved before the next departure, then gather any shortfall near your known return point. Converting the entire reserve first can create a second errand that was avoidable.
The material guide identifies ice around large frozen masses and food in floating crates, using the Scrap tool for harvesting. These are object-level starting points, not a promise that every nearby container contains enough for the next expedition.
Do not confuse fatigue with a food shortage
The current gameplay guide identifies a sleeping facility aboard the ship. If fatigue is the limiting need, searching for more food does not establish that you have solved it. Check the relevant meter after resting instead of judging readiness from the amount of food in your inventory.
The developer explains that eating, sleeping, and environmental comfort feed into positive and negative effects. Read any active effect before comparing consumption with someone else’s run. A different equipment or condition state makes the comparison less useful even on the same difficulty.
This guide does not state a required sleep duration or a universal daily routine. Use the current interface to see what the rest interaction offers and what changed afterward. Planning one complete recovery stop is more effective than repeatedly departing with one unresolved need.
Use longer-term rewards without turning preparation into grinding
Neoseeker reports a food-related achievement for processing 100 moldy items through the Nutri-Pack-O-Mat, with a hunger-consumption benefit. It also lists fatigue-related rewards from exploration. Check the achievement screen for your current progress and conditions.
Let relevant actions accumulate while you play if they already fit your route. There is little value in abandoning a blocked main task to chase a distant efficiency reward unless that reward addresses the actual problem you want to solve.
At the end of a preparation stop, check the output in your inventory, your present needs, and the resources left for the next return. A functioning machine is only part of the system; supplies and a usable route back complete it.
Trace a preparation problem from input to output
When a machine seems unhelpful, identify which stage is missing. You need a suitable input, a usable machine, the intended interaction, and an output you can actually take with you. Looking only at the machine model can leave you unsure whether the issue is repair, supply, configuration, or collection.
For a controlled check, begin with one small operation when your reserves allow it. Note what you supplied and what changed on the interface. Then look for the result. If there is no result, inspect the machine state before feeding it the remainder of your stock. This is a diagnostic sequence, not a claim about a particular batch size or processing time.
If the output appears but your character’s need has not changed, ask whether you prepared an item rather than consumed it. Production and consumption are different actions. If an input remains untouched, ask whether the machine accepted it at all. Describing the failure at the correct stage prevents a working system from looking inexplicably broken.
Allocate a small stock across the next two departures
Planning only the current departure can leave you returning to an empty preparation loop. Consider what you need immediately and what you will need on the next return. This does not require carrying the entire stock; it requires knowing that the next useful operation remains possible.
Imagine an invented inventory with enough of a shared input for three planned uses. If you spend all three on one supply type, a different essential use may require another gathering trip before you can leave again. Allocate by the next tasks you have actually chosen. The example does not prescribe a recipe; it shows why a shared ingredient should be assigned deliberately.
When supplies are scarce, shorten the upcoming job to something the present stock can support. A focused local gathering trip may be more productive than attempting a distant objective and immediately turning back. Reassess after that short trip: if it restores the missing preparation step, you have improved the next departure rather than merely delayed the same problem.
Measure a machine improvement with the question it should answer
Before changing a module, write down the inconvenience you are trying to remove. Do you repeatedly interrupt preparation to add input? Is there insufficient room for the amount you want to handle? Does the operation feel too slow for your routine? These are different questions, and an impressive-looking upgrade may address only one.
Compare the machine before and after under a similar small operation. Keep the input and your intended output comparable. Look at the displayed statistic as well as the practical result. If the improvement does not address the inconvenience you named, consider whether the component has a more useful compatible role elsewhere.
Do not infer an exact processing multiplier from a label you have not understood. A number on an upgrade card can have units, conditions, or limits that matter. Read the current description and report an uncertain unit as uncertain. An observation such as this configuration lets me prepare the next trip with fewer interruptions is useful even when you have not calculated a universal efficiency ranking.
Separate a low meter from a continuing negative effect
A recovered meter and the absence of an effect are not necessarily the same observation. Read the status information currently shown by the game, especially when your character feels different after eating, resting, or entering another environment. Record what the interface actually says instead of inventing a diagnosis from the animation alone.
For example, if a need appears replenished but another warning remains, check that warning on its own terms. Repeating the same consumption may not answer the remaining issue. If an effect description identifies a duration, condition, or remedy, use that information rather than assuming more of the same item always helps.
This is also useful when comparing two sessions. Equipment, active effects, and the length of the outing can differ even if you choose the same difficulty. Before concluding that a patch changed consumption, compare those conditions. A careful observation distinguishes a balance change from a different starting state without requiring an elaborate spreadsheet.
Decide what kind of outing your preparation supports
A supplies run and a long quest attempt should have different expectations. On a supplies run, the goal is to return with the ingredient that repairs the preparation loop. On a quest attempt, supplies support the task at the destination. Mixing both can work, but decide which result takes priority before a new distraction appears.
If your preparation is marginal, choose an outing whose useful result is nearby and clearly defined. Collecting a known input can still be a successful session. Do not measure progress only by the number of story objectives completed; a reliable supply routine makes those objectives less frustrating later.
At the same time, avoid turning preparation into an endless prerequisite. Once the current stock supports the intended job with room for your return, proceed. The point of checking food, water, and fatigue is to make the adventure possible, not to require a perfectly stocked machine before every short trip.
Keep a simple recovery record after an interrupted trip
When a need forces an early return, note which one and what you were doing when it became limiting. Then identify the preparation step that would have changed the outcome. This might be finishing a machine operation, taking its output, resting before departure, or choosing a shorter task.
Use that note at the next departure and see whether the same interruption returns. If it does, refine the plan using the new observation. If it does not, keep the routine simple instead of adding more rules. A small repeatable process is easier to maintain than a long checklist of hypothetical problems.
Choose a routine you will actually keep
A preparation habit works best when it fits the way you play. Keep the checks that have prevented a real interruption, and remove the elaborate rules that never answer a practical question. Your routine should leave you ready to explore, with enough attention left for the environment and the story.
Sources & verification
This article combines cited facts with practical editorial advice. Follow the version and uncertainty notes before applying an older route.