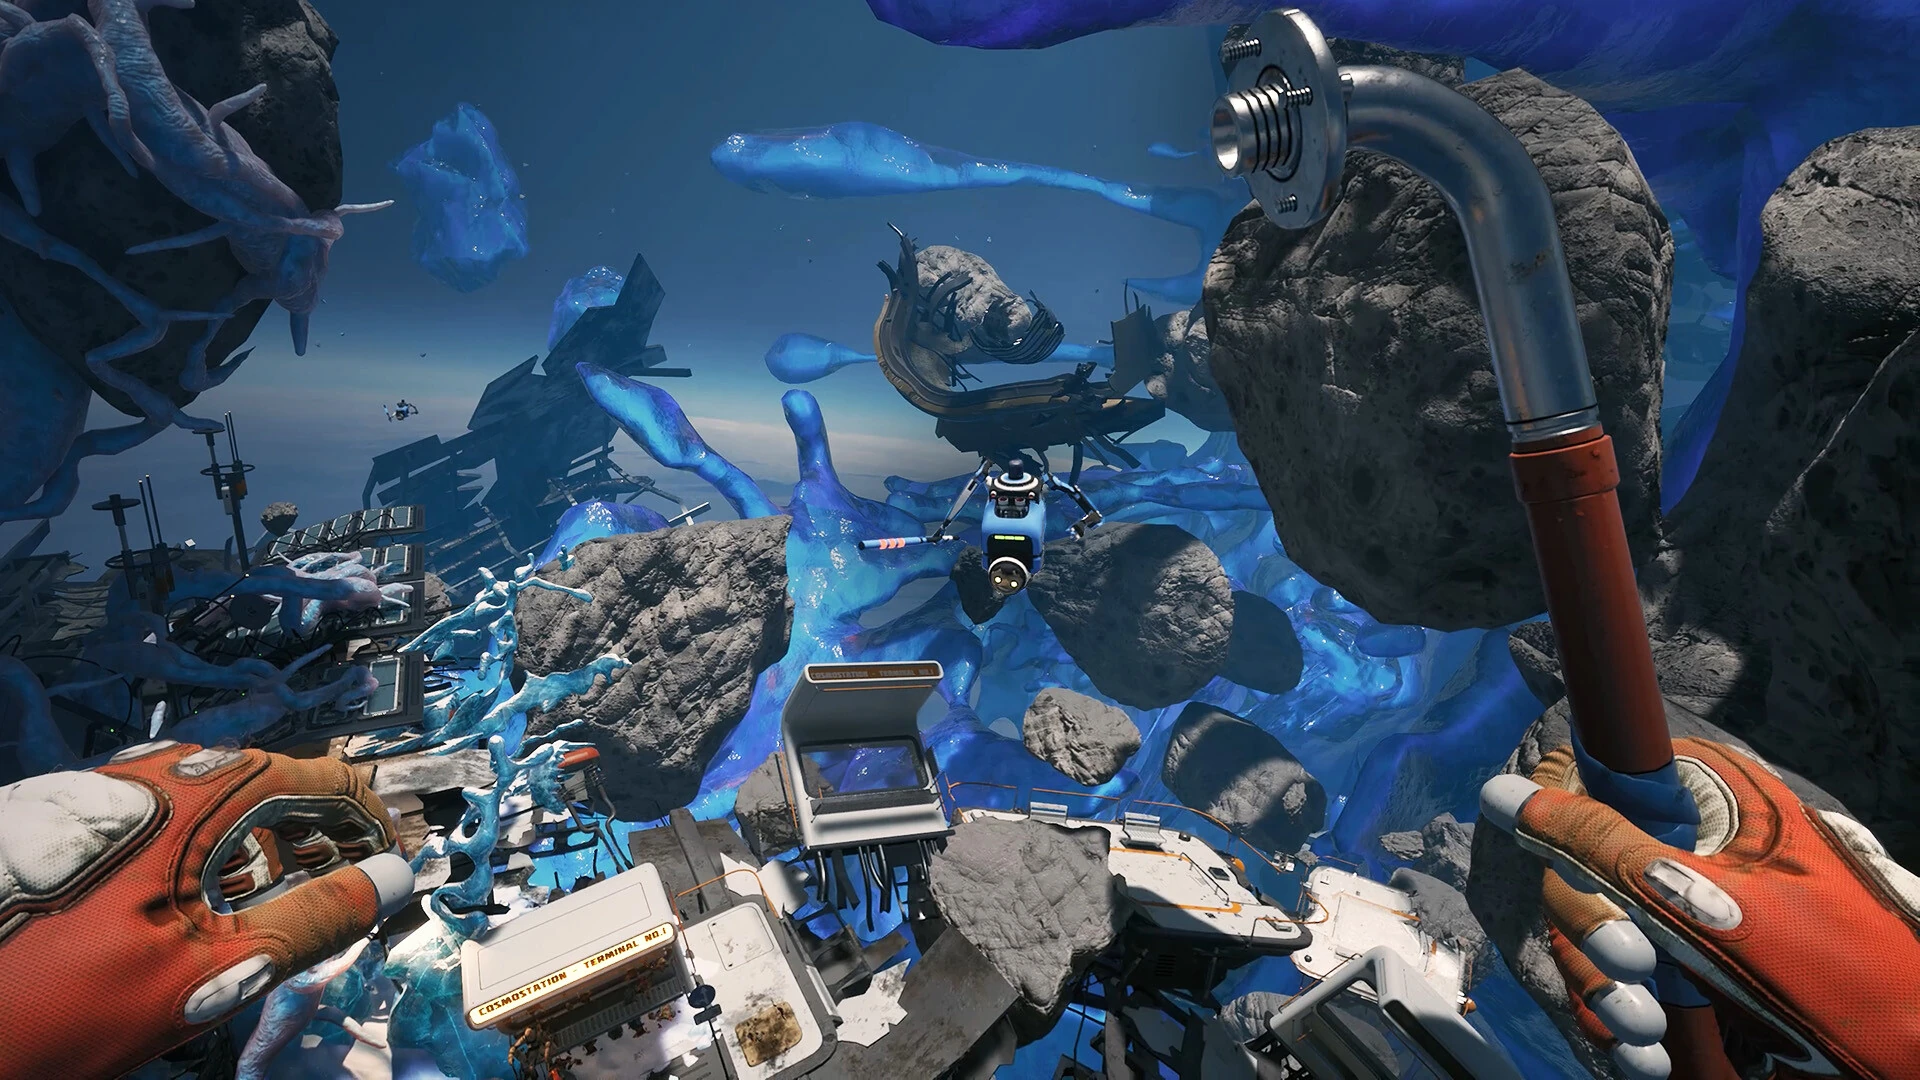
An opening-session checklist for equipment, nearby salvage, quest priorities, and reliable navigation.
Start with the equipment check
The opening asks you to dress and feed the chicken. Find the helmet, suit, and feed on nearby benches; equip the clothing through Inventory before feeding the caged chicken. These directions come from the current Early Access walkthrough, rather than the old demo.
Before leaving any interior, take a moment to check what you actually equipped. An item in your inventory and an item on your character are different states. Read the equipment slots and current objective together; this is faster than wandering toward a marker with an unfinished introductory interaction.
Make one trip answer one question
For your first scavenging trip, pick a concrete purpose: find the material for the tool shown in your crafting menu, locate the requested interaction, or learn the return route. Trying to do all three while also collecting every loose prop makes it much harder to tell what you accomplished.
Turn around shortly after leaving and identify the entrance from outside. Remember a large shape beside it, not just a direction such as left. In free movement, your orientation can change while the landmark remains useful. This is route-planning advice; it does not depend on a particular oxygen timer or suit upgrade.

Read an obstacle before spending supplies
Approach a blocked object closely enough to see its interaction. Decide whether the game is asking you to hit something, carry something, or provide materials. Then compare that request with the equipment you have. A locked container is not automatically a missing-recipe problem.
If you discover several repairs at once, write down the next mandatory one and gather for that first. Keep optional projects on a separate list. Your immediate objective is a stable place to return to and a clear next task, rather than a perfectly cleared starting area.
Know when to stop troubleshooting
After an interaction, read the objective again before repeating it. A completed action may have changed the next requirement. If the same action produces no change, try a different approach angle and check the required tool before making another supply run.
This guide is an orientation checklist, not a complete Chapter 1 route. Follow the linked train guide for the first repair sequence, and use the game version shown in your installation when comparing any older video.
Learn the small set of controls that prevents wasted trips
Neoseeker lists the default PC controls as left mouse for the left hand or interactions, right mouse for the right hand or tool, mouse wheel to draw a grabbed object closer, Space for flight or jumping, Tab for Inventory, and C for Crafting. Check Settings if you have rebound them.
Practice picking up and releasing an ordinary nearby item before using a bulky quest object. The important distinction is between selecting an item, holding an object in the world, and using your equipped tool. Knowing which state you are in prevents you from dragging a target away when you meant to work on it.
A controller prompt and a mouse prompt will not necessarily use the same label. Follow the binding your game displays rather than translating a keyboard walkthrough literally. If an interaction asks for a sustained input, watch for completion rather than assuming a quick tap finished it.
Match your first salvage targets to your tools
The current material guide pairs Aluminum on asteroids with the Thumper, Wires in electrical panels with the Cutter, and Plastic on exposed platform pipes with Scrap. Fabric, Foam, and Cardboard also use the Cutter. This gives each trip a practical equipment check.
A material shortage can therefore be a tool shortage. If the object you need is visible but inaccessible, identify the tool first. Gathering more of an unrelated resource will not solve that dependency. Conversely, an inventory full of tools is not useful if the next job only requires one specific interaction and a named ingredient.
Give each successful resource find a short description you can remember: what the object looks like, what you used on it, and which major structure is beside it. You are learning a repeatable object interaction, not just collecting a one-time pile. Do not assume the same object respawns after you leave.
Know where the opening chain goes next
After the interphone, the main route turns to antennas. The first is behind the train near large ice; another lies beyond the yellow tunnels near a billboard and needs a tuning unit from the nearby seated skeleton. These are current walkthrough landmarks, not a complete substitute for each repair prompt.
The later Hubble sequence unlocks the Twister by inspecting a broken example beside a skeleton. The route then involves removing three graphics cards, breaking cache blocks, and restarting a terminal. If you lack the tool, revisit that inspection rather than assuming it was available from the start.
The route subsequently asks for Service Warmers and better cold protection. Do not interpret the distant antenna marker as proof your opening equipment can already reach it. Resolve the environmental requirement before turning a short exploration trip into repeated unsuccessful attempts.
Decide which optional task belongs in this session
Choose an optional task when it has a clear purpose: improving a familiar route, providing a reward you want, or resolving a curiosity close to a working return point. Leave it for later if it introduces a long search while you are still trying to establish the basic survival loop.
A useful stopping point for the first session is a character ready to depart, a known refill location, a working understanding of gathering, and an identified next main objective. This is more valuable than ending with many unfinished repairs and no memory of which item you were searching for.
Before quitting, note the next action in plain language, such as bring the listed wires to this repair or inspect the broken tool at this landmark. A short actionable note makes returning to an Early Access save easier than trying to reconstruct your entire route from the quest list.
Turn the objective into a question you can answer
The first useful habit is to reduce an objective to its unfinished action. Read the verb and the object separately. Find a component means the next problem is locating it. Install a component means you need to bring it to an attachment point. Repair a device usually sends you to inspect a material requirement. These are interpretations of the instruction you see, not additional quest steps. When you name the unfinished action correctly, you can stop doing unrelated work.
Imagine that you collected an object but the objective still refers to installation. Another search for that object would not answer the question. Approach the intended device and look for the relevant placement interaction. Conversely, if the journal still asks you to locate something, check whether your pickup was the named object or merely a similar prop. Neither example establishes a particular hidden trigger; it illustrates how to compare your action with the actual wording.
Keep the scope small enough that success is visible. Instead of deciding to finish the entire opening area, decide to identify the next repair requirement or complete one accepted interaction. If the task advances, you have an observable result. If it does not, you now have a much narrower question for a walkthrough: the exact object, the action attempted, and the unchanged requirement. That is useful even before you understand the larger story.
Separate discovery, capability, and completion
A new player can encounter an object long before being ready to use it. Treat discovery as information rather than an instruction to solve everything immediately. Record the landmark and the requested action. Then ask whether your present equipment can perform that action and whether the game has introduced the relevant recipe. A visible destination does not guarantee immediate access.
For example, suppose a component requests a tool you have not made. There are two different questions: can you craft the tool now, and have you learned how to craft it? Inspect the menu before collecting a large quantity of materials. If the recipe is visible, the material list gives the next task. If it is absent, your next useful search concerns the unlock or inspection, not an imaginary cost you found on an older fan page.
Completion is another separate state. The item can exist in your inventory while remaining unequipped, and a tool can be equipped while your aim is on the wrong part of a machine. Work through these states in order. This keeps an apparently complicated failure manageable: what did you discover, what can you currently do, and what has the game actually recognized? You do not need to solve all three by trial and error at once.
Use a three-line supply note instead of a shopping list for everything
For the next outing, write three lines: the object you intend to finish, the ingredients it currently requests, and the place you will return. If another repair catches your attention, put it below those lines rather than silently replacing the plan. This is especially helpful when several fixtures share common materials and the same inventory feels as though it should cover them all.
Consider an invented example: one project needs three pieces of a common material and another needs four. Holding four pieces does not mean both projects are supplied. Assigning three to the first leaves one for the second. The arithmetic is elementary, but the mistake is easy when different prompts are inspected several minutes apart. A short written allocation makes the unfinished quantity visible before you depart.
Use the live prompt for real quantities; the numbers above are only an accounting example. Once a repair accepts its materials, cross that allocation out. If it does not accept them, keep the entry until you understand why. At the end of the trip, compare the result with the three-line plan. You will learn whether the delay came from gathering, finding the target, or performing the interaction, which makes the next trip more focused.
Learn to search around a landmark without losing the rest of the area
When looking for a small object, pick one large structure as your reference and keep returning your attention to it. Search one visible portion of the surrounding space, then change your viewpoint deliberately. If you rotate and drift at the same time without a reference, a new-looking view can actually be a place you already checked.
Describe the search in terms you can reproduce: underneath the platform, outside one end, above a recognizable fixture. Avoid directions that depend entirely on which way you happened to face. If you need to leave for supplies, remember the last completed portion of the search so you do not restart the same sweep from the same angle.
Do not let a search method become a reason to remain outside indefinitely. A partial search with a clear record is progress. Return while the route remains straightforward, then continue from the unchecked portion. The goal is to replace repeated uncertainty with accumulating knowledge. This is particularly useful for the smaller physical objects in the opening environment, where another perspective can matter more than extending the search radius.
Finish the session with a usable next step
At a stopping point, leave a brief note about what you were doing and what prevented completion. A good example is need the tool named by this component at this landmark. A less useful note is need to explore more. The first lets you resume with a concrete check; the second makes you reconstruct the whole evening.
Record only the information you will otherwise forget. Your current objective, the important missing item, and the last reliable return point are usually enough for a first session. If you changed a control or difficulty setting, add that too so your next comparison makes sense. Do not turn the note into a transcript of every joke and prop.
When returning after a patch, inspect the current objective before following the note. Your note records a past observation; it does not override new game behavior. If the requirement has changed, update the next action and continue. A clear handoff to your future self makes an interrupted first playthrough much easier to resume without discarding useful progress.
Use the guide differently once you know the basics
After your first successful preparation and return, you can stop reading the opening advice in sequence. Jump to the specific obstacle that is new. If movement and gathering are familiar, spend your attention on the next requirement rather than rechecking controls you already understand.
That change in reading style matters. A beginner guide should help you become independent of it. Keep the parts that solve a present question, use the source links when you need the original observation, and let the game supply the next concrete problem.
Sources & verification
This article combines cited facts with practical editorial advice. Follow the version and uncertainty notes before applying an older route.