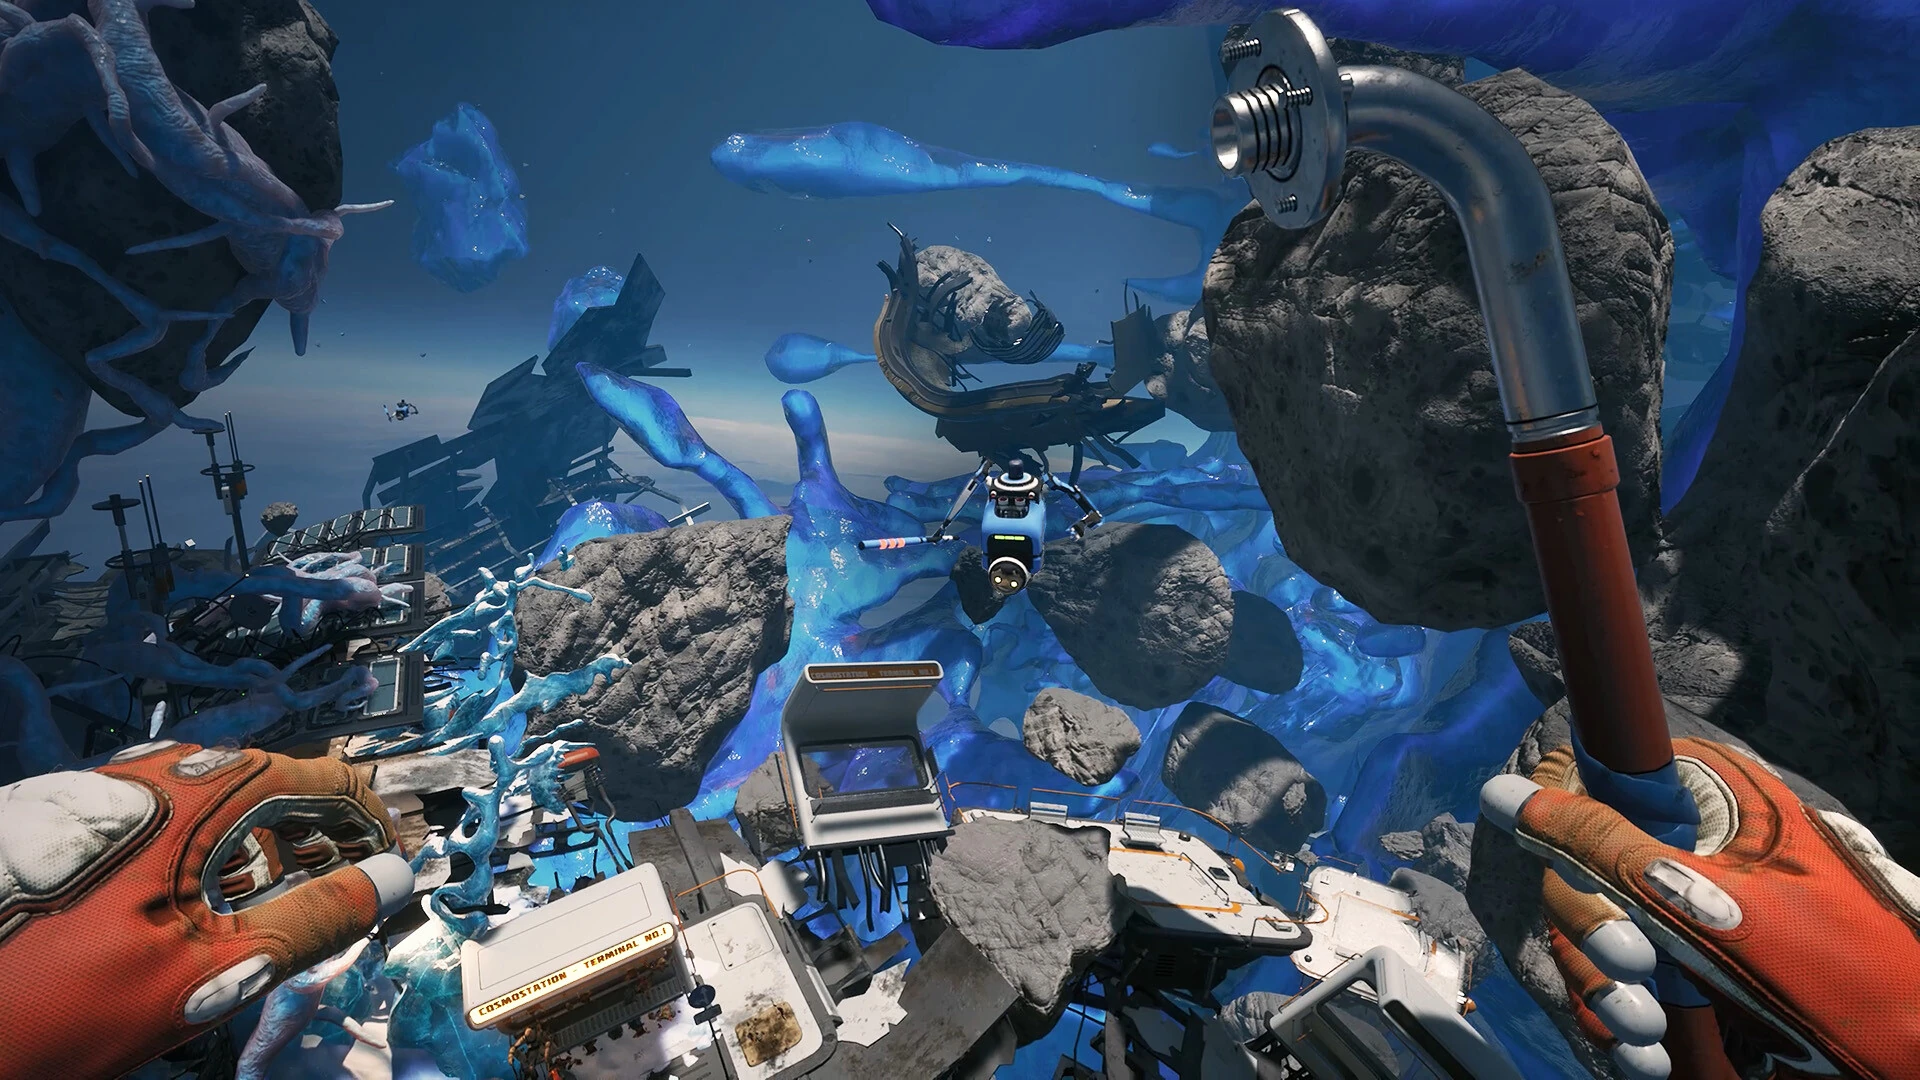
A practical way to connect quest objectives, repair needs and equipment decisions without inventing a fixed recipe route.
Name the obstacle before collecting more scrap
Breathedge 2 is a single-player survival adventure, and its developer-described progression links exploration to equipment and environmental problems. The most useful question when progress stalls is specific: what prevents the next action? You may be missing a tool, a component, protection, an interaction or simply the correct reading of the current objective. Those are different problems. Gathering miscellaneous resources only solves some of them.
Read the active task and reduce it to an observable next step. 'Find a way to continue' is too broad; 'inspect the hatch interaction with a battery available' is testable. If the interaction succeeds, you have advanced. If it fails, you have learned something precise enough to investigate. This method is particularly valuable during Early Access, when an old walkthrough can describe a quest state that has since changed.
Separate essential equipment from convenient equipment
Create two mental lists before spending a valuable component. The first contains what the next objective actually requires. The second contains what would make the journey faster or more comfortable. Complete the essential list first unless the comfort improvement is what makes the trip survivable. This is not a universal build order; it is a way to avoid buying convenience while leaving the required interaction impossible.
The September 4 hotfix offers a concrete example: some objects that previously accepted the crowbar must now be unscrewed with the Twister. Improving your crowbar is not a substitute for having the correct tool. If the job is dismantling one of those listed objects, check the interaction requirement before investing further resources. The same reasoning applies whenever a prompt calls for a different action from the one you expected.
Plan a task trip, then a collection trip
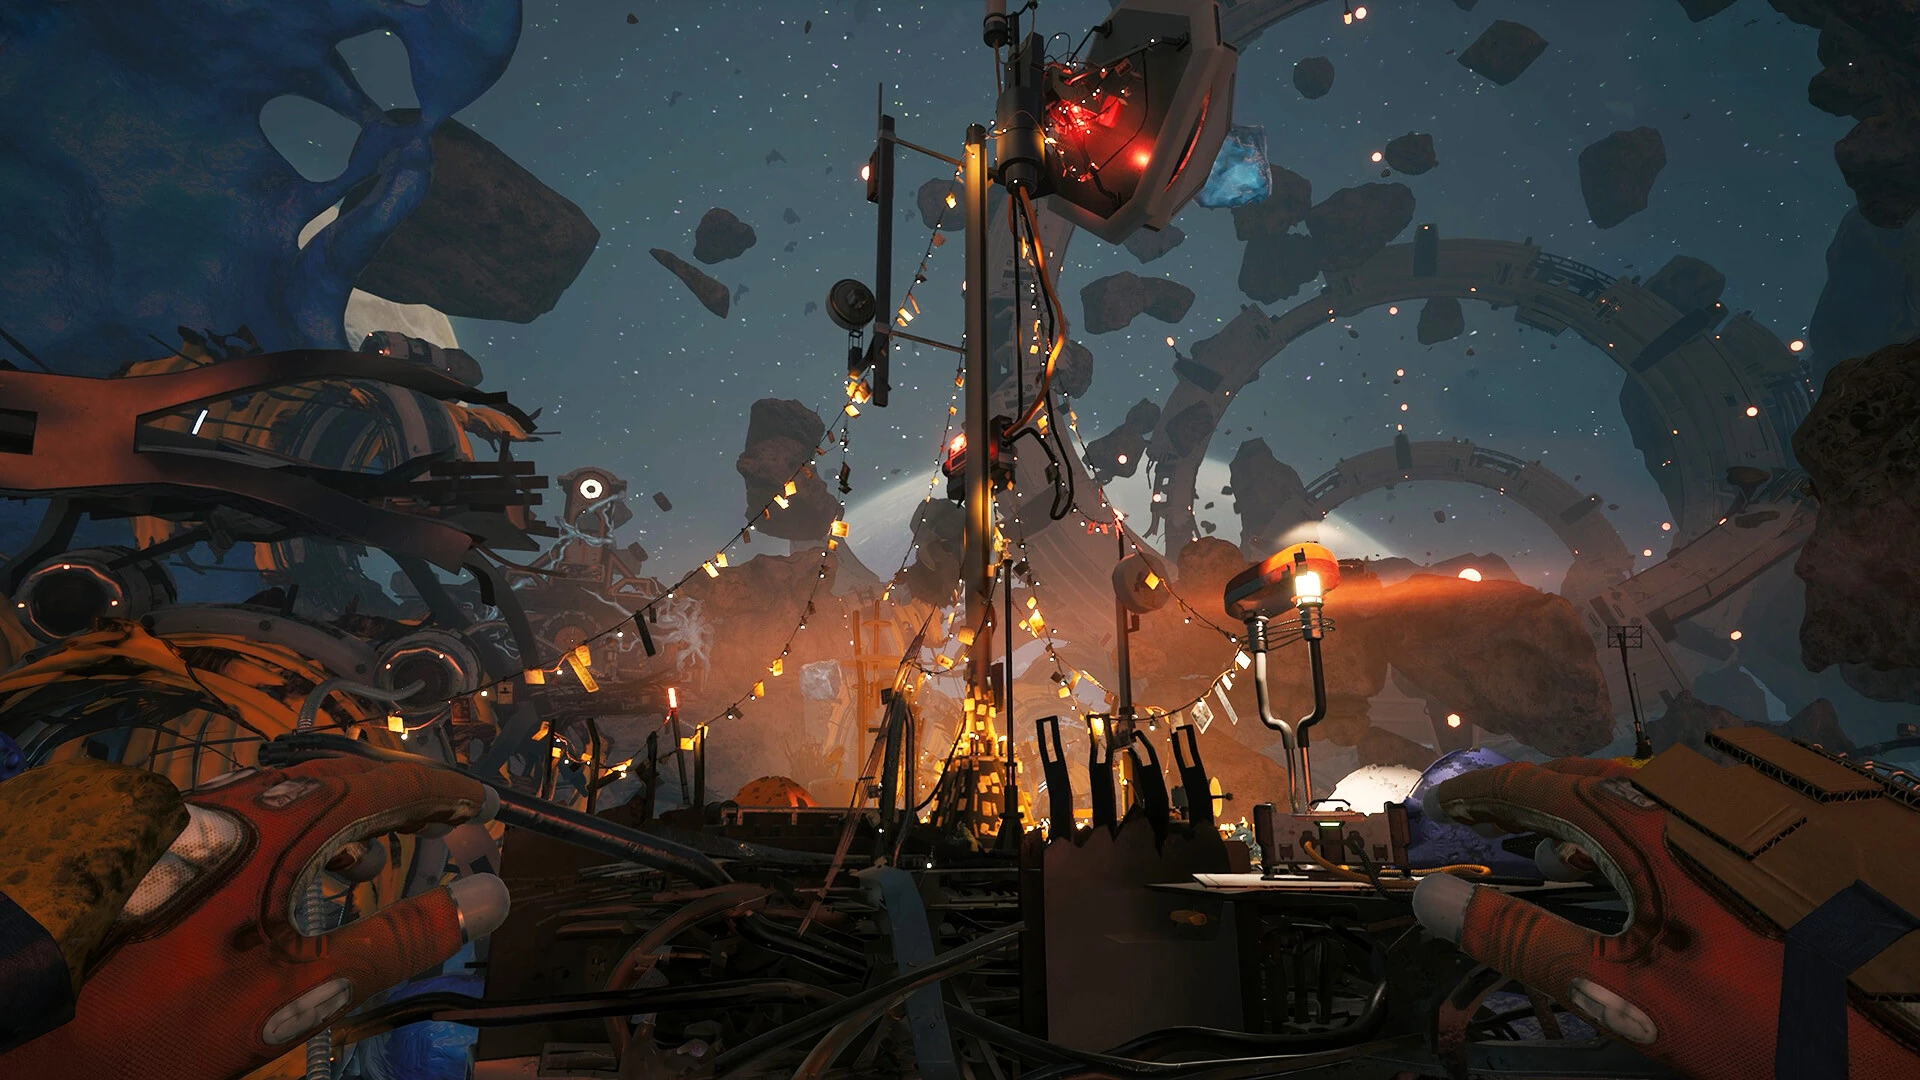
A task trip has a defined outcome: complete a repair, inspect a blocked route or obtain an identified quest object. A collection trip gives you more freedom to gather and experiment. Mixing the two is possible, but it helps to decide which takes priority. Otherwise every interesting object becomes an excuse to extend a journey that started with a simple purpose.
On a task trip, gather opportunistically only while it does not prevent the main outcome. Leave room to carry the required object, and preserve enough attention to recognize the route home. On a collection trip, keep a record of useful locations or interactions so a later task trip can be direct. This is practical route discipline rather than a claim about exact inventory capacity or fixed resource respawns, which this guide has not verified.
Use quest changes as information
A quest advancing means the game recognized something, even if the next marker seems confusing. Read the new stage rather than repeating the previous action. Conversely, a stage that does not advance after an obvious action needs a focused check. Did you use the right object? Did the interaction finish? Are you on a build with a known fix? This order keeps troubleshooting close to the evidence.
The battery-hatch change in 0.8.6 shows why this matters. A battery found elsewhere should now satisfy the quest rather than forcing the original ice-related step. The right response to a guide insisting on that earlier sequence is to test the current hatch interaction, not recreate every old instruction. Similarly, the speaker-repair marker was corrected toward the oxygen terminal in 0.8.5. A marker discrepancy may have a documented explanation.
Reserve one outing for learning
Not every trip needs to maximize loot. When entering an unfamiliar area, a successful reconnaissance can simply identify the obstacle, the interaction and the safe way back. Trying to solve everything on the first visit may cost more resources than returning with the correct setup. Exploration becomes more efficient when information counts as progress.
After such a trip, write a short plan in ordinary language: the object you need to interact with, what the prompt requests and any hazard encountered on approach. Use the game's actual wording where possible. You are building a reliable personal route from observations, which is more useful than remembering a vague feeling that the area was difficult. On the next attempt, change the one thing that previously blocked you.
Know when difficulty is the real bottleneck
If food, water or fatigue drains prevent even a careful learning trip, use the available difficulty controls. The official 0.8.6 note confirms that Easy and Story can be selected without a restart. It also reduces those three drains on standard by 15 percent. Make sure the updated balance is installed before judging a route against an older recording.
Lower pressure can be a practical choice when you want to read dialogue, inspect objects or understand a changed system. It does not require discarding your progress. Once you can identify the next obstacle clearly, equipment decisions become much easier. The aim of this progression method is to replace uncertain grinding with a small, observable next action and a return trip that leaves you able to act on what you learned.
Build a dependency list you can finish
When a goal needs several things, write the dependencies backward from the goal. Start with the final interaction, then identify the tool, material or condition it requires. Continue only until you reach an action you can perform with what you have now. That action is the next useful task. You do not need a complete endgame plan to make progress; you need a reliable path through the next obstacle.
For example, suppose the current interaction asks for a repair and the repair needs a component you cannot yet extract. Your immediate goal is the extraction capability, not collecting more of the other ingredients. Gathering a large surplus of the easy materials may feel productive while leaving the dependency unchanged. Once the missing capability is available, return to the repair and complete it before expanding the plan. This example is a planning pattern, not a claim about a particular unverified recipe. Use the exact requirements shown in your current crafting or interaction interface.
Stop reserving the same material for two jobs
A common planning error happens before crafting: you mentally assign one stack to a required repair and then also count it toward an optional upgrade. Both plans appear affordable until you perform the first action. Avoid that by giving each important component one intended use at a time. If you change the use, update the other plan rather than assuming the resource will somehow still be available.
This is especially helpful when you return from a collection trip with several types of material. Before crafting whatever is newly highlighted, compare the inventory with your active objective. Complete the committed job first if it is still the priority. If new information reveals a better use, changing the plan is fine, but make the trade consciously. You are not trying to eliminate improvisation. You are trying to prevent an attractive optional improvement from silently consuming the part that made the entire trip necessary in the first place.
Treat borrowed infrastructure as a temporary arrangement
Neoseeker's current chapter-three walkthrough describes a late antenna step that can borrow a battery from a nearby warmer, then restore it after the quest registers. That is a useful example of an interaction whose success and its environmental consequence must both be considered. Completing the objective is only half the local task if the temporary change makes the surrounding area less comfortable to occupy.
Before moving a component from a working system, identify its original position and the route back to it. Do not mix the borrowed item with an unrelated collection plan. Watch for the expected quest-state change, then restore the arrangement if that is the method you are following. This reasoning does not assert that every power system can share batteries or that every battery removal is harmless. It shows why a temporary solution deserves an explicit restoration step. Read the current prompts and stop if the local behavior differs from the described interaction.
Choose nearby work by benefit, not just distance
A nearby optional task can be worthwhile if it teaches a useful interaction, improves a route you use repeatedly or provides a reward you specifically need. Distance alone is not enough. A task five steps away can still consume the component required for your main objective, while a slightly longer errand may remove the actual bottleneck. Compare the benefit and commitment before deciding.
Use three questions: will this help the next objective, will I use the result again, and can I complete it without disrupting an existing plan? A yes to all three makes a strong candidate. If the answer is mostly curiosity, you can still do it, but recognize that you are choosing exploration over direct progression. That keeps expectations honest. An enjoyable detour is not a failed run; an accidental detour becomes frustrating when you expect it to advance a different goal. Giving the choice a name prevents that confusion.
Make failure return information
A failed attempt can be valuable if it answers a question. If you reached the object but lacked the requested tool, the route is now known and the missing equipment is identified. If the equipment worked but the return was too long, the interaction is solved and route preparation needs attention. Separate those results. Otherwise a single failure can make you repeat every earlier step despite most of the plan already being correct.
Write the result as a sentence with a verb: reached, opened, repaired, survived, returned or failed to trigger. Then add the one missing piece. On the next attempt, preserve the parts that worked and change the part that did not. This is more efficient than redesigning your loadout completely after every setback. It also gives you a clearer basis for deciding when the issue is a bug, because a reproducible failed trigger is different from a route that simply exhausted your supplies.
Avoid turning optimization into another chore
You do not need to measure every second or count every piece of scrap to plan well. The useful level of detail is the level that changes a decision. If two routes are both comfortable and familiar, choose the one you enjoy. If one route repeatedly forces a return before the task is done, that difference deserves attention. Record meaningful constraints instead of building a spreadsheet you will never consult.
The same applies to upgrade comparisons. If the current tool completes the required interaction comfortably, further optimization can wait while you advance the story. If it repeatedly fails to do the job, inspect the relevant capability. A perfect theoretical setup is not a prerequisite for a useful session. The purpose of planning is to reduce wasted repetition, not replace playing with endless preparation. Stop planning once you can explain the next trip clearly and have a reasonable way to respond if the observed conditions differ.
Prepare a clean handoff to your next session
Before stopping, leave one short note containing the active objective, the next location or landmark and the item you still need. If you moved a component temporarily, record that too. This is particularly helpful when a session ends during a complicated repair sequence, because the next session starts with a concrete action rather than a vague memory of several unfinished jobs.
When you resume, check the objective again before following the note. An update, a forgotten completed step or a changed plan may make it obsolete. Treat the note as a reminder to verify, not an instruction to ignore the current game. Once the state matches, equip for the trip and proceed. A small amount of deliberate continuity makes solo progression feel coherent across short sessions, which is often more valuable than a guide promising a rigid universal route through every possible inventory state.
Recognize a completed decision
A decision is complete when it gives you an action and a condition for reassessing. For example, you might choose to inspect the blocked object with the correct tool, then return if the next requirement demands a component you did not bring. That is enough structure to act without pretending you can predict the whole quest. It also stops you from debating the same choice repeatedly while already outside.
After acting, evaluate the result against the question you meant to answer. If the tool worked, the decision succeeded even if a new requirement appeared afterward. Do not confuse discovering the next step with failure to finish the previous one. Progression often becomes easier to follow when each local problem has a clear beginning and end. You can then plan the new requirement with the equipment, resources and knowledge now available, instead of treating the entire chain as one unfinished mistake.
Sources & verification
This article combines cited facts with practical editorial advice. Follow the version and uncertainty notes before applying an older route.