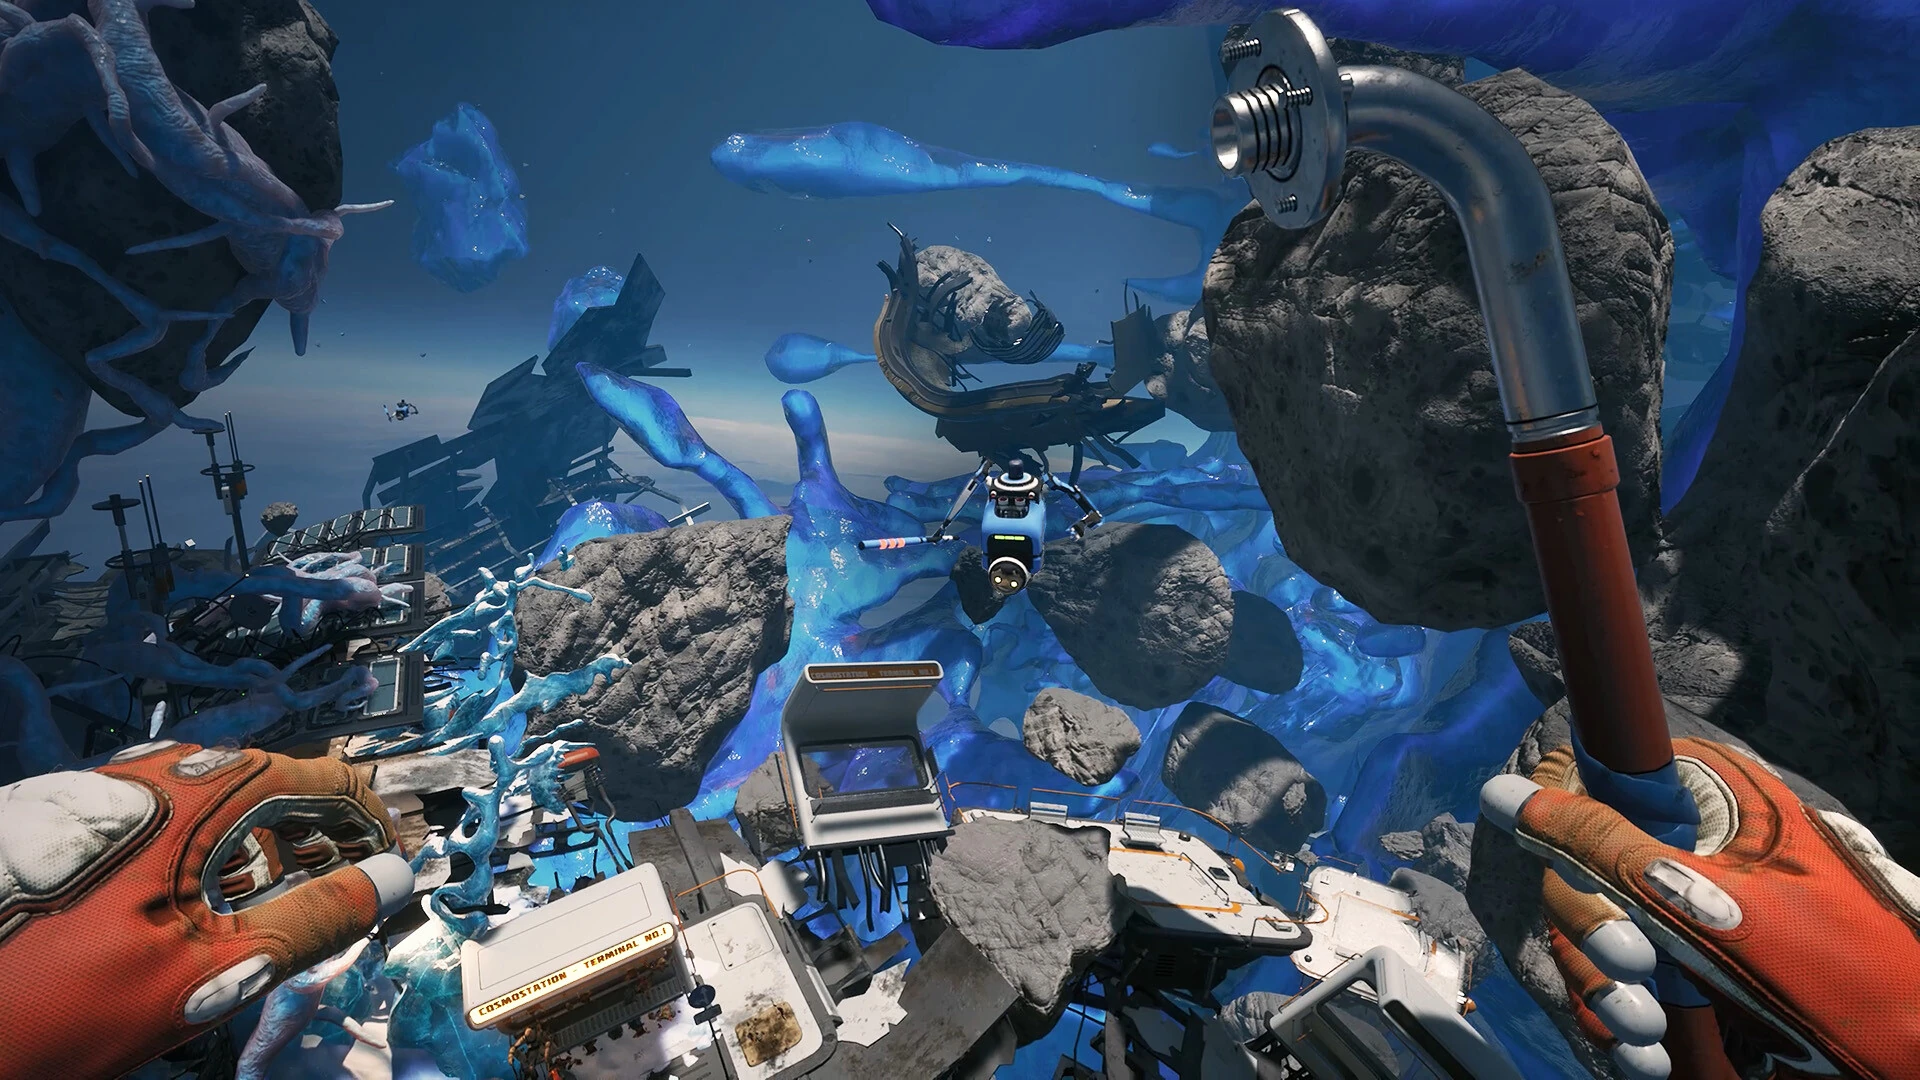
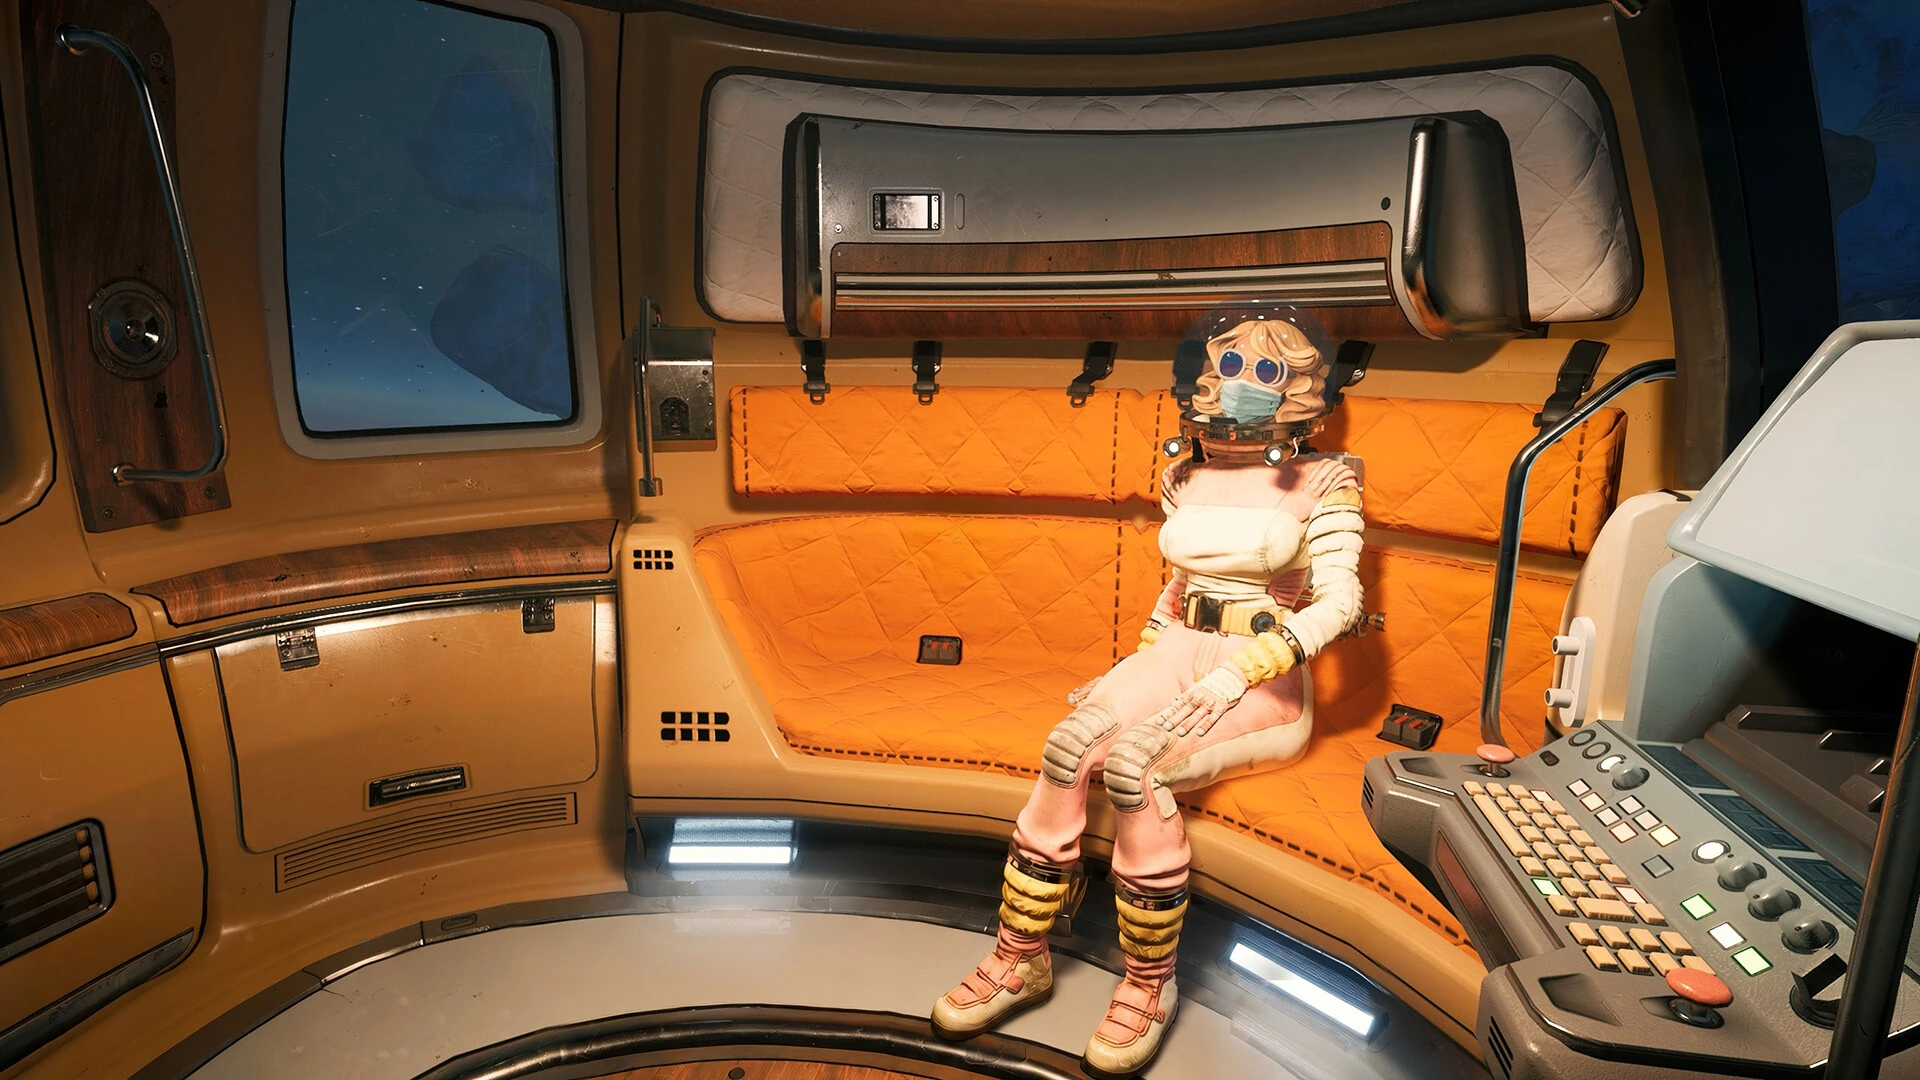
A returning-player guide to changed objectives, deeper survival, DIY upgrades and avoiding outdated demo instructions.
Familiar scenery does not mean identical progression
The 2025 Breathedge 2 demo and the August 2026 Early Access release are different reference points. The developer explicitly described substantial changes between them, including a deeper connection among survival, equipment, exploration and environmental obstacles. A memory of the demo can still help you recognize a character or visual landmark, but it should not override the current quest journal or an interaction prompt.
Begin a returning session as a short relearning exercise. Check the active task, inspect the equipment interface and try the current interaction on one nearby object before committing to a remembered route. You are trying to establish what the game now expects. This takes less time than reproducing a demo sequence, finding that one step no longer works and then having to retrace everything while your survival resources continue to drain.
Replace fixed memories with a search method
Taxi letters provide a verified example. The September 4 hotfix explains that their arrangement differs deliberately from the demo: search within the indicated 20-meter radius rather than expecting one pile. That is not evidence that the quest is broken. It is evidence that a remembered solution has expired. Use a landmark to anchor your search and cover the surrounding space in sections, checking above and below the main plane of your view.
The general lesson applies beyond that task, but it does not justify inventing new locations. When an object is absent from its remembered spot, first establish whether the current objective still asks for it. Then search the relevant area systematically. Keep track of places already checked. If you encounter an interaction requiring a different tool, note it and move on deliberately rather than repeatedly hitting it with whatever happened to work in an old recording.
Equipment now belongs to a larger survival decision
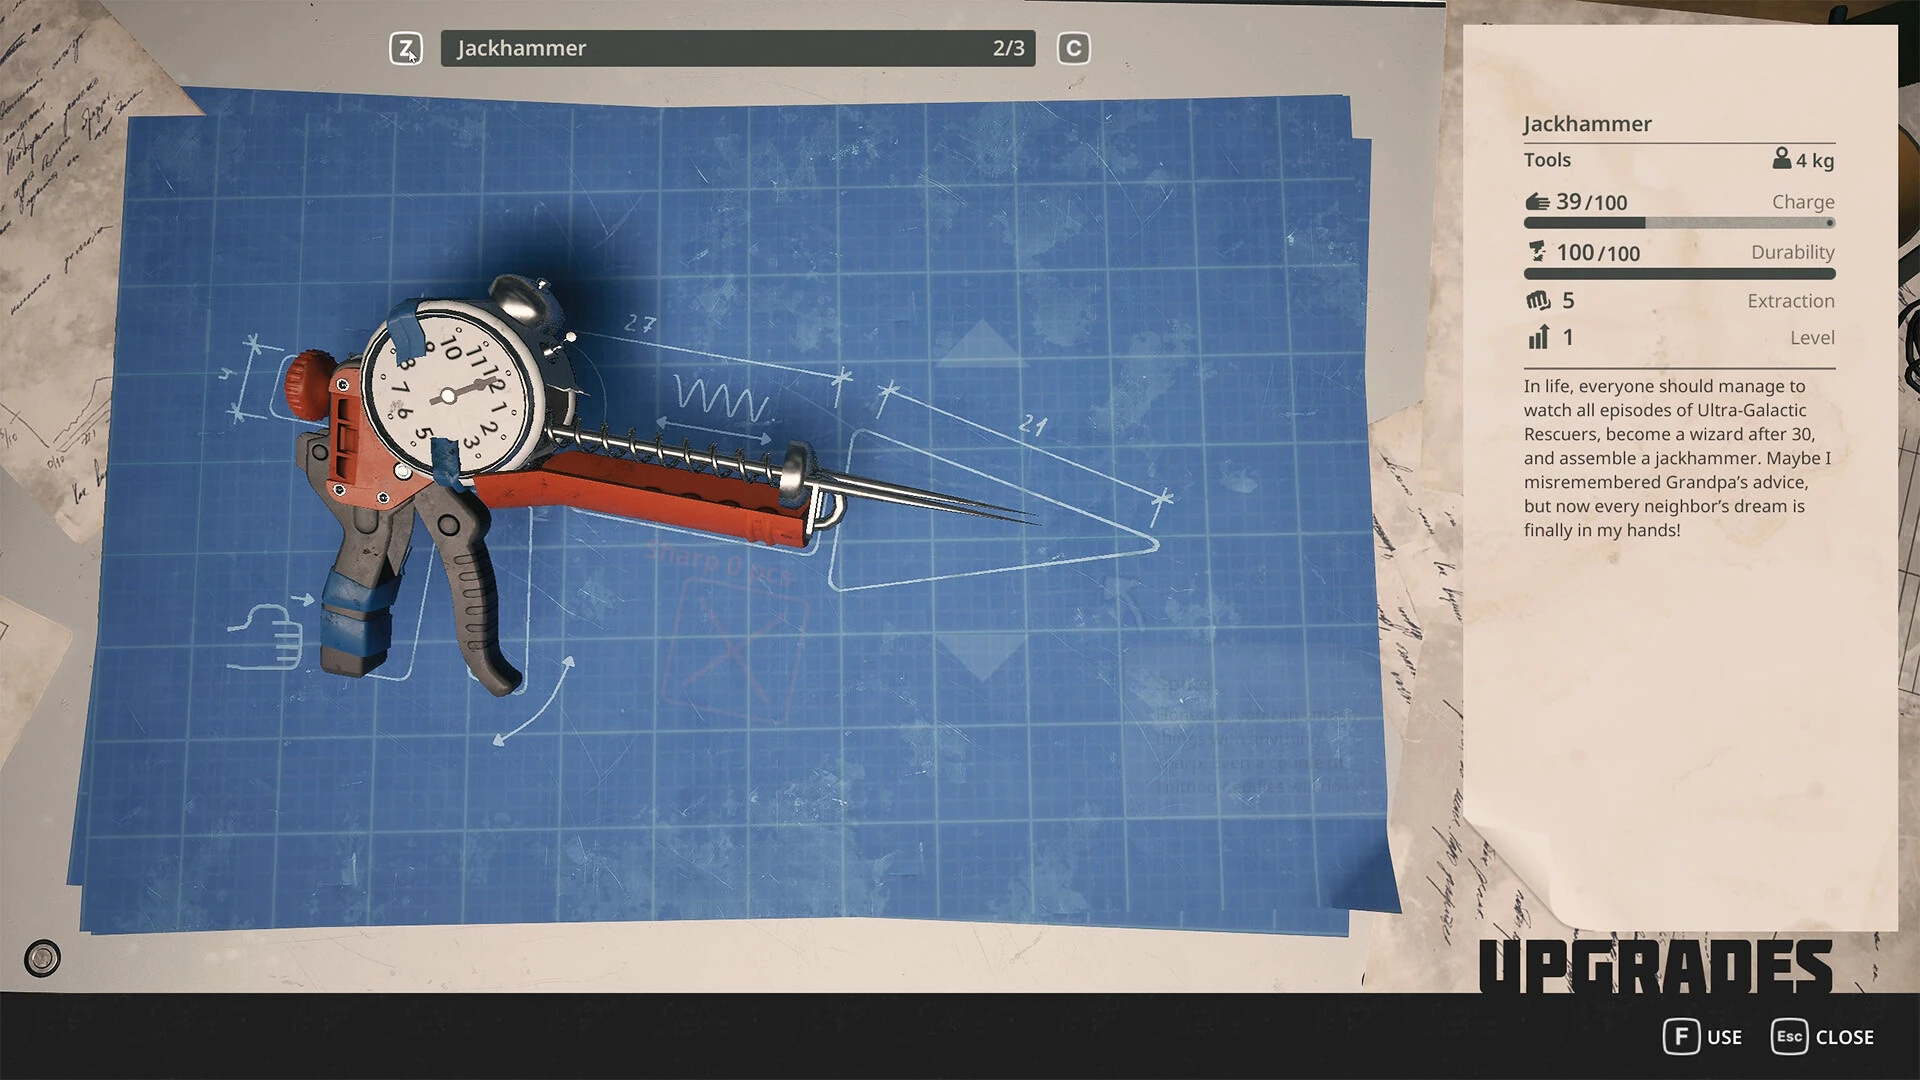
The April redesign describes DIY modules as a way to improve tools, equipment and certain world devices. It also describes hazards as obstacles that can make a route impractical until you prepare for them. The practical implication is to ask what problem an upgrade solves. An upgrade is useful when it lets you complete a task with less exposure, survive the relevant hazard or perform an interaction your current setup cannot handle.
Do not automatically spend your best find on the first tool with an empty slot. Compare the next two things you intend to do. One may require a repair elsewhere; the other may simply become a little more convenient with an upgrade. If the same component could serve both purposes, delay the optional improvement until the essential task is covered. That is a planning recommendation based on shared-component systems, not a claim that one undocumented item is always the strongest choice.
Rethink the return trip
A route that felt brief in the demo may be a poor benchmark for the current release. The developer described the area as expanded and denser, with more activities and interactions. Instead of planning by remembered distance alone, estimate the work you expect to perform: searching, dismantling, fighting, carrying an awkward object or resolving an environmental obstacle all make an outing different from a direct flight.
Set a clear reason to return before leaving. It might be obtaining the component for a particular repair, confirming the tool needed at a blocked object or collecting the last known quest item. Avoid stacking every newly visible opportunity onto the same trip. Discovering something interesting is a reason to make a note, not necessarily a reason to spend the rest of your reserves investigating immediately. A controlled return is part of successful exploration, especially while learning changed systems.
Let the current difficulty fit the way you play
Version 0.8.6 reduced food, water and fatigue drain on standard difficulty by 15 percent. The same official note confirms that Easy and Story can be selected during a run without starting over. If survival pressure prevents you from understanding the changes, adjusting difficulty is an available tool. You do not need to abandon the save just to make the game easier to read.
Choose a setting based on the experience you want now. For a returning player catching up on story and controls, lower pressure may be useful. For somebody testing resource decisions, standard may fit better. Avoid comparing your consumption directly with a demo video or a pre-hotfix recording, because both the build and the difficulty can differ. Observe your own reserves over a comparable task and use that observation to plan the next outing.
Recognize an obsolete guide before following it
Three warning signs deserve attention: the page never says whether it covers Breathedge or Breathedge 2; the video predates Early Access and does not identify itself as demo coverage; or the instructions contradict a recent official fix. Check the game identifier when in doubt. The sequel's Steam app is 2412960, while the original uses 738520 and the demo has its own app page. This simple check can prevent following an entire route for the wrong game.
A good guide can say what it does not know. Exact resource quantities, collectible locations and optimal builds need current evidence. When a page replaces uncertainty with a confident list of familiar-sounding recipes, treat it cautiously. Use the current quest stage, current prompts and linked patch notes as your first evidence. Your demo experience remains useful as background, but the release deserves to be learned on its own terms.
Relearn one tool before rebuilding every habit
A useful first exercise is to inspect one tool you expect to use regularly. Identify its current interaction, installed module and visible condition. Then use it on a nearby appropriate object and compare the outcome with what you expected. This turns a broad sense that 'everything changed' into a specific observation. If the interaction differs from the demo, you can update that habit before it disrupts an important trip.
Do not change every piece of equipment at the same time just because a new upgrade system exists. A large simultaneous change makes it harder to tell which part improved the result. Keep the first test modest: one tool, one interaction and one clear outcome. Once you understand that relationship, move to the next system. This approach is particularly helpful if you remember the demo confidently, because confidence makes old assumptions harder to notice until they fail at an inconvenient moment.
Read DIY categories as compatibility information
The redesign names several DIY categories, including Heavy, Sharp, Impact, Utility, Protective, Active, Capacity and Biological. A category is a clue about where a component can be used; it is not a complete ranking of its value. Two items that share a category can still differ in quality, condition or effect. Read the current item's details rather than assuming that a familiar category label makes two finds interchangeable in every practical sense.
When a component has several potential uses, compare those uses against the task you actually want to finish. A part consumed in an optional improvement is no longer available for a repair you discover on the next trip. Keeping one decision open can be useful while learning the area. That does not imply hoarding every item forever. It means postponing a commitment until you understand the required interaction and the consequences of spending the component.
Module condition changes the meaning of replacement
The developer describes base tools persisting while attached DIY components wear. This differs from the simple assumption that a damaged setup always means crafting an entirely new tool. Inspect which part carries the condition and what the current workspace offers. The design also allows intact modules to be moved, making a swap a possible equipment decision rather than automatically a permanent sacrifice.
However, do not assume removing a module restores its condition. Version 0.8.6 specifically fixes that unintended behavior for food and water machines. An old demonstration of a free durability refresh should be treated as obsolete. Before moving a favored module, note its condition and compare the receiving device's requirements. A purposeful swap solves a current problem; repeated swapping in search of an old exploit can waste time and create misleading expectations about how maintenance is supposed to work.
Inspect environmental problems before forcing them
The redesign describes environmental interactions involving heat, cold, water and electricity, and gives examples of different ways to overcome obstacles. Those examples explain the intended style of problem solving, but they are not a complete universal recipe book. When you meet an obstacle, first inspect the current prompt, the surrounding objects and the equipment you have. Identify which part of the problem is observed and which part you are merely guessing.
A safe experiment changes one thing and produces a result you can read. If a route appears blocked by a condition your setup cannot handle, reconnaissance may be enough for the first trip. Record the obstacle and return to prepare. Do not assume an example from a developer preview means every visually similar object responds identically. The release can contain several interaction types, and a good returning-player habit is to test the local evidence instead of forcing a remembered solution everywhere.
Use the grabbing arm as an interaction tool
The developer describes the Suit's mechanical arm helping with moving objects, pulling panels, reaching items and holding things steady. The useful returning-player adjustment is to look for manipulation opportunities instead of treating everything as either a pickup or a crowbar target. An object may need to be moved or controlled before the next action makes sense.
When learning an unfamiliar manipulation, choose a clear area if possible and observe how the object behaves when held and released. Keep the intended route visible, especially near doors or gravity transitions. The launch patches include fixes for exactly these kinds of physical interactions, so unusual behavior should be checked against the current build. A careful test can teach the mechanic; a crowded doorway full of several loose props makes it harder to tell whether you misunderstood the interaction or encountered a bug.
Do not mistake a story revision for lost progress
The June announcement explicitly warns returning demo players that substantial elements have changed. If a remembered character or scene does not appear at the same point, that alone is not evidence that your installation is incomplete. Follow the sequence the current game presents. Check whether the active objective is advancing rather than using the demo's scene order as a required checklist.
If you need to compare versions, keep the comparison spoiler-conscious and precise. Ask whether a particular demo interaction remains relevant, rather than requesting the entire new story. A page that promises an exact conversion from every demo moment to every release moment needs evidence. In the absence of that evidence, the current journal and developer notes are better guides. Let the release introduce its own pacing instead of trying to force it into the structure of a much earlier sample.
Keep website help separate from in-game localization
A guide can be translated into your preferred language even when the game does not offer that language itself. The current store metadata does not list Italian or Indonesian as supported game languages, although this website includes those readerships. If you played the demo in another language or changed your settings for the release, compare the described action as well as the translated objective title.
Proper names and deliberately comic wording can be particularly awkward across languages. Keep a small note of the in-game wording when asking for help, and mention your interface language if a search result appears to describe the right task under a different name. That is more reliable than assuming a translated title indicates a separate quest. It also helps a guide writer correct a terminology mismatch without inventing an explanation about hidden or region-exclusive content.
Finish the relearning session with a current plan
At the end of your first return, write down three things you now know from the release: an interaction that changed, a survival preparation that helped and the next objective you can act on. Keep those observations separate from things you merely remember from the demo. On your next session, prepare for the current objective using that short record rather than replaying the old route automatically.
This makes returning less frustrating because the early session has a clear purpose even if you do not advance far. You are converting old familiarity into current knowledge. Once the tools, search patterns and survival pressure make sense again, the demo becomes useful background rather than an unreliable set of instructions. The release can then be explored for what it actually contains, with fewer unnecessary trips and fewer false bug alarms.
Sources & verification
This article combines cited facts with practical editorial advice. Follow the version and uncertainty notes before applying an older route.