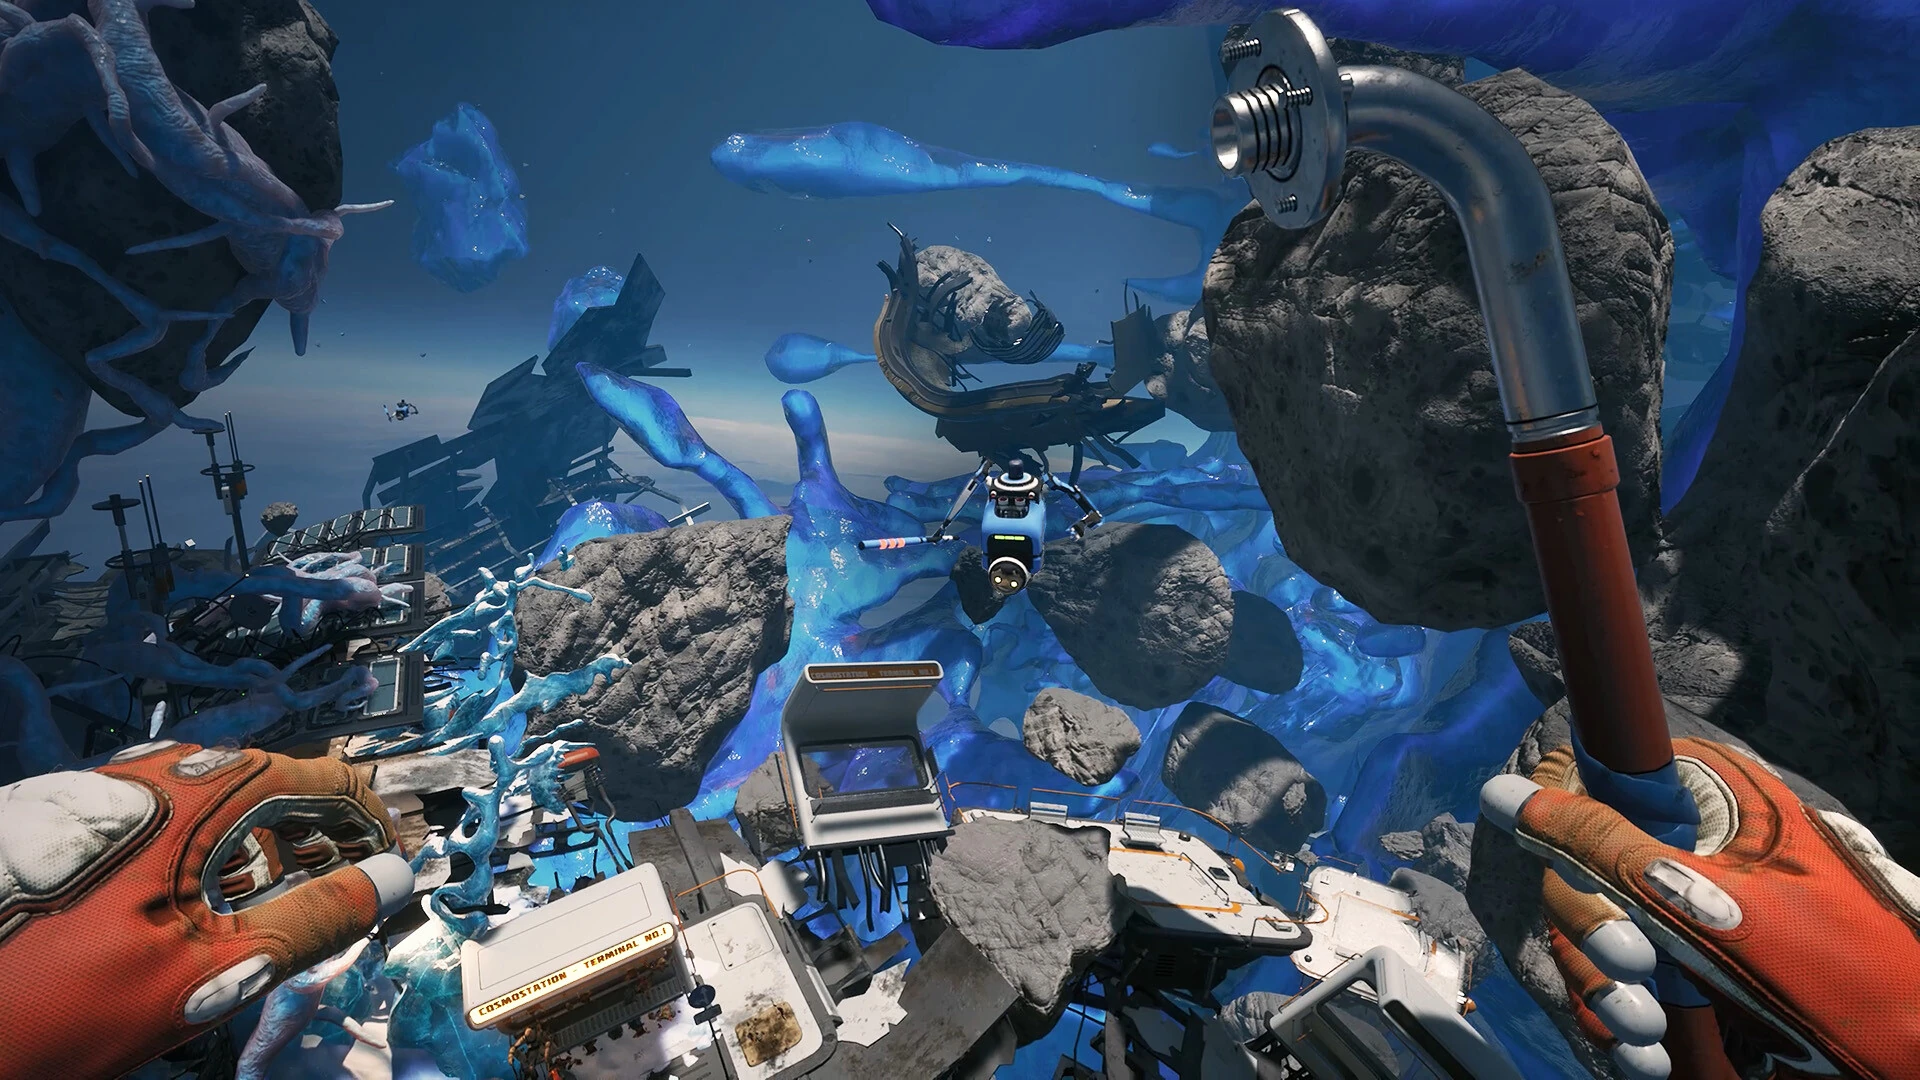
Understand the September tool change before treating an unresponsive object as a bug.
The September 4 change
Hotfix 0.8.7 made the train crate, lamp shades, robots, and doors require the Twister for dismantling. The crowbar no longer performs that operation on those objects. Footage recorded before the fix can show a method that no longer works.
When an old clip tells you to keep hitting one of these objects, stop and inspect the current prompt. Repeating the obsolete action will not establish that the object is broken. The first useful test is whether you have the tool the current interaction requires.
Read the verb, then choose the tool
Different kinds of interaction can share similar-looking props. Inspect what the game asks you to do with this particular object. Unscrewing a component, breaking an obstruction, and placing a repair material are different tasks even when they happen around the same doorway.
Equip the intended tool and check that the target is the actual component rather than the surrounding frame. A small change in viewpoint can reveal which part owns the interaction. This is a diagnostic method, not a promise that every decorative prop can be dismantled.
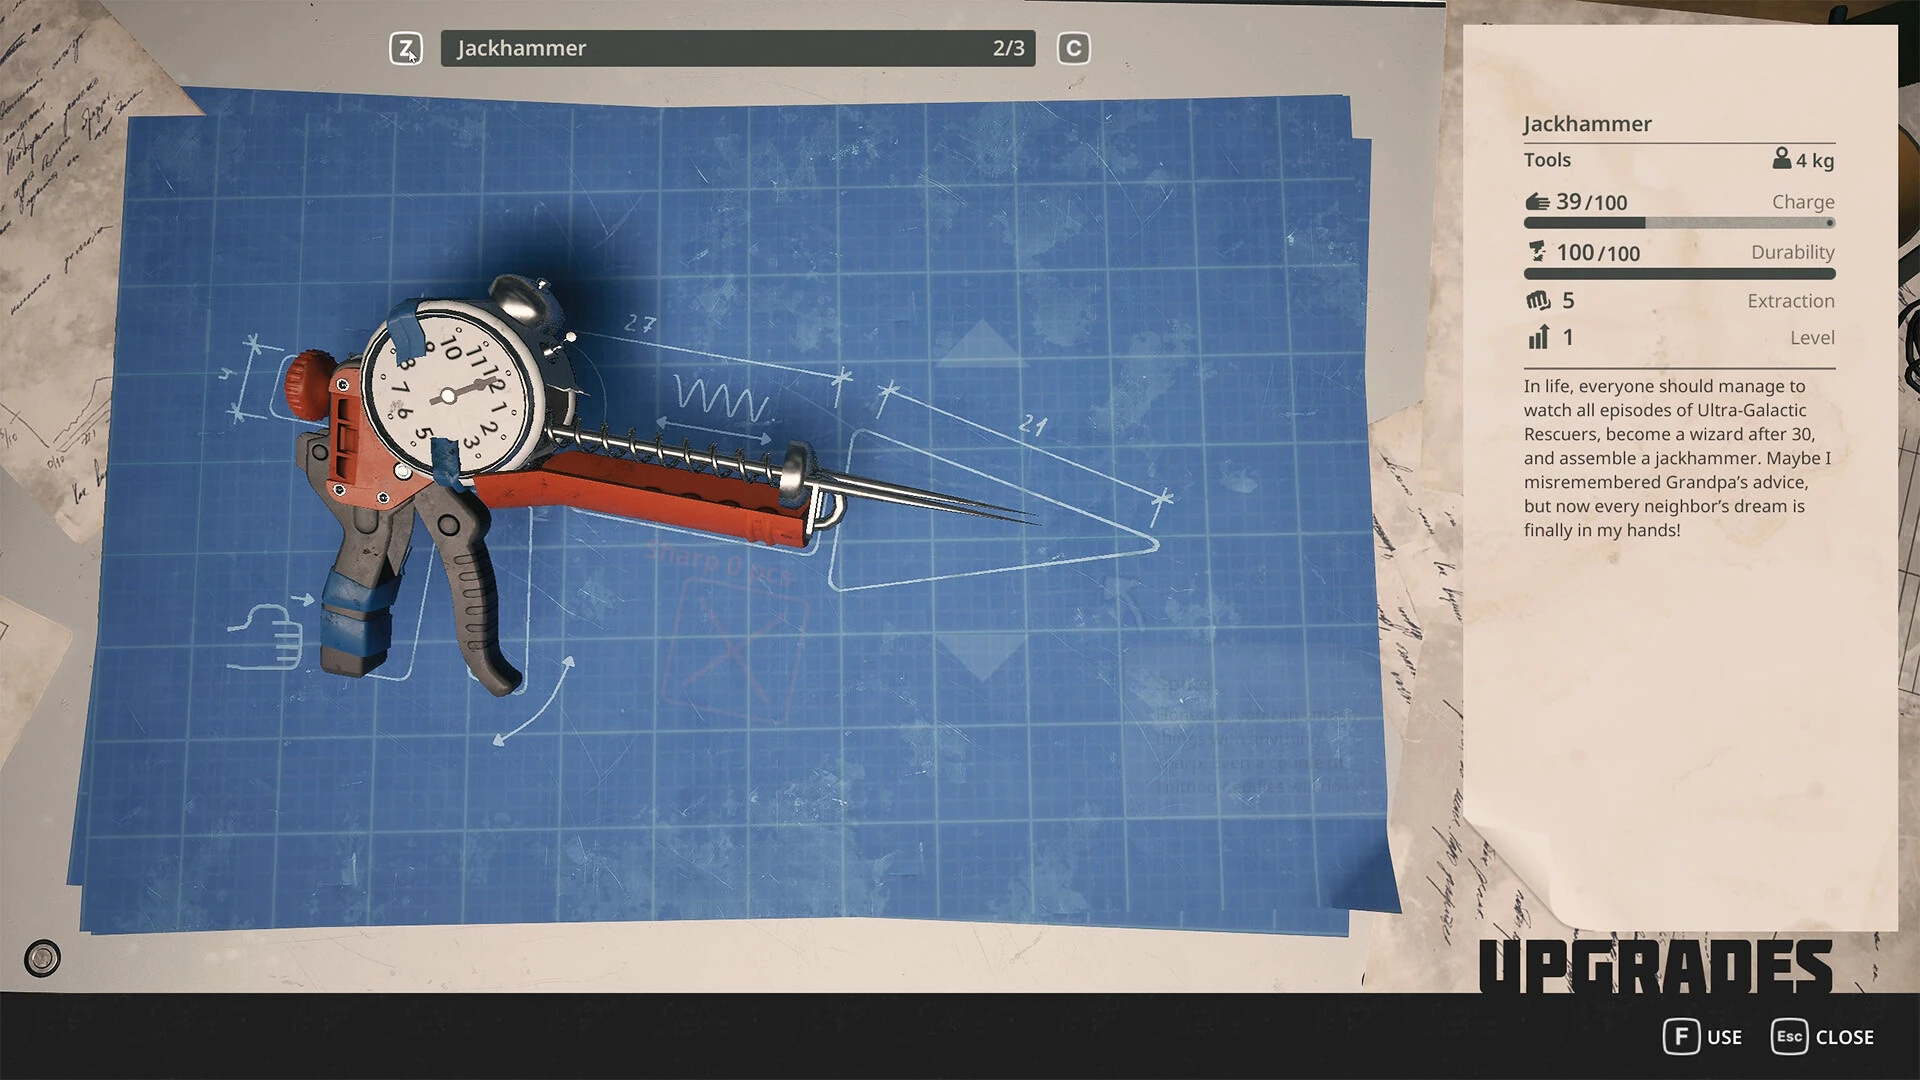
Run a controlled test
Try one deliberate interaction after checking the tool and target. Then look for a visual change, a material result, or an updated objective. If nothing changes, inspect the prompt again rather than rapidly repeating inputs.
If you can use the same tool on a known valid object nearby, that helps distinguish a target-specific issue from an input or equipment problem. Do not destroy unrelated quest objects just to test a tool; choose an ordinary available interaction you already understand.
Use a useful bug description
For an unresolved problem, record the build, object, equipped tool, visible prompt, and what happened after one input. Mention whether it began after updating. These details are much more useful than saying that all tools are broken.
This guide covers the specific dismantling change documented in 0.8.7. It does not supply an unverified Twister recipe, a universal durability value, or a claim that every door should be dismantled.
Unlock and prepare the Twister
The current Hubble walkthrough locates the broken Twister by the skeleton near the desk. Inspect it to learn the blueprint. The listed recipe is 4 Aluminum, 2 Wires, 3 Electrical Tape, and 2 Plastic.
If the recipe is absent, return to the inspection rather than gathering a second batch of materials. If the recipe is present, compare the listed ingredients with your inventory before leaving the train. Unlocking, crafting, and equipping are three separate checks.
This gives an unresponsive target a useful sequence of questions: did you discover the blueprint, did you craft the tool, did you equip it, and are you aiming at the component that requests unscrewing? Resolve the first unanswered question before spending more resources.
Separate the object’s name from the action being requested
An object can participate in several different actions. A doorway can be a passage, a repair target, or the location of a removable component. The object’s general name does not tell you which action the current prompt expects. Read the action at the part you are actually aiming at.
This matters when following a video because the camera can hide a small change in target. The creator may move from the frame to a fastener or from an obstruction to a panel while continuing to describe the whole assembly as the door. Pause your interpretation at the action, not at the broad noun.
If the prompt asks for unscrewing, compare that with the tool you have equipped. If it asks for supplied materials, inspect the repair requirement. If it asks for a carried component, check the object you are holding. These comparisons come from the visible instruction; they do not assume that every object supports all three actions.
A useful personal note therefore records object plus action. For example, write removable component requesting unscrewing at this landmark rather than merely broken door. The more precise note remains useful even if another nearby part uses a different tool.
Follow the tool’s state from discovery to use
There are several checkpoints before a tool can solve a problem: discovering the relevant recipe, gathering its inputs, completing the craft, having the result available, equipping it, and using it on an appropriate target. Missing any checkpoint can look like the same unresponsive interaction if you only watch the object.
Start with the earliest uncertain checkpoint. If you cannot find the recipe, checking whether you have enough ingredients is premature. If the recipe is available but the craft has not completed, trying a hotbar slot will not establish that the tool exists. If it is crafted but not equipped, the visible character action may still belong to another item.
Use the interface to confirm each state rather than relying on memory. A recent pickup notification may concern a component rather than the finished tool. A crafting selection may show a recipe without actually producing it. The relevant question is what your inventory and equipment currently contain.
Once the state is clear, make one deliberate attempt. If it works, stop troubleshooting and continue the task. If it does not, preserve the confirmed checkpoints so you do not repeat the entire process. You have already narrowed the remaining uncertainty to the target, its condition, or the interaction itself.
Inspect the target from more than one angle
A crowded machine can put several interactable parts close together. Move enough to see which component owns the prompt. You are not looking for a magical pixel; you are trying to distinguish the part being selected from the surrounding assembly.
Watch whether the wording changes as you aim at different parts. If it does, note the action that matches your objective. If the prompt disappears, adjust your position until the intended component is visible again. A clear target is a better basis for testing than rapidly clicking while the selected part changes.
Be especially deliberate while carrying something. A carried object can occupy your view and make it difficult to judge what is selected. Put it in a clear nearby place when that is appropriate and inspect the target without the obstruction. This is a visibility check, not a promise that all carried objects can be set down safely in every situation.
If you still cannot identify the target, capture the whole assembly and the visible prompt for reference. A close crop of an unresponsive fastener may omit the surrounding landmark that distinguishes it from another similar object. Keep enough context to ask a precise question.
Tell an incomplete interaction from a completed one
After using the tool, look for a concrete result. The component may move, the prompt may change, an item may become available, or the current task may advance. Which result matters depends on the action being requested. Do not assume that sound or animation alone proves the entire objective is complete.
Some instructions shown by games require a held input or a second interaction after an initial change. Follow what this object displays rather than transferring that expectation to every target. If the prompt still asks for the same action, inspect whether you released the input before its visible completion.
Conversely, do not keep working on a component after its state has changed. Read the new prompt and the objective. Continuing to repeat the previous action can make a successful first step feel like a failure because the game is now waiting for something else.
For diagnosis, describe the transition: before the attempt, the prompt requested this; after the attempt, it displayed that. This is more informative than saying the tool did nothing when the model changed but the quest remained active. A task can include another requirement without the first interaction being broken.
Use a comparison that isolates one uncertainty
If a tool appears not to work, compare it with an ordinary interaction you already understand and can test without risking progress. Keep the equipped item and input the same. A successful comparison shows that at least that tool interaction can work under your current setup.
Then return to the uncertain object and compare what differs: selected component, prompt, position, quest state, or object condition. Do not change everything at once. If you equip another tool, move the object, reload, and remap the input together, a different result will be difficult to explain.
If the tool fails even on the known interaction, inspect the equipment and controls. If it works there, concentrate on the specific target rather than crafting duplicate tools immediately. This reduces wasted materials while producing a clearer account of the failure.
Keep the comparison proportionate. You do not need to dismantle half the area to prove that a single interaction is inconsistent. One relevant working case and one failing case are already useful evidence. Additional tests should answer a new question rather than repeat the same observation.
Do not let the tool correction rewrite unrelated advice
The documented correction has a specific scope. It should change your approach to the listed dismantling interactions, not become a general rule that the crowbar has no purpose or that the Twister is a universal solution. Keep each tool associated with the action the current target requests.
This distinction also protects your understanding of older footage. A video can remain useful for recognizing a landmark while showing an obsolete action at one component. You do not have to discard everything in it or follow everything in it. Retain the visual context, then check the interaction against the current build.
When explaining the difference to another player, describe the precise change. Saying use the tool requested by this dismantling prompt is more useful than saying the old weapon is broken. Accurate wording prevents one localized correction from turning into a misleading rule for every encounter.
If a later update changes the interaction again, the same method still works: verify the current prompt, identify the relevant action, and confirm the tool state. The point is to solve the object in front of you rather than defend a memorized instruction.
Prepare a report that distinguishes the likely failure points
For an unresolved case, record the game version, location, object, visible action, equipped tool, and result. Add whether the same tool works on another known target. If the object changed state but the task did not, say so explicitly.
Include the last successful action before the problem. That can distinguish a missing prerequisite from a tool failure. A screenshot showing the prompt and object together is often more useful than an image of the inventory alone.
Do not attach an unsupported explanation such as the tool corrupted the save. Report the observed sequence and let further testing establish the cause. A clear state comparison gives another player or the developer a realistic starting point for reproducing the problem.
Compare action names when the guide language differs
A translated guide can use a different noun from the game’s localization. Focus first on the action shown by the current prompt and the tool’s function. If the wording differs, record the displayed game label beside your own explanation rather than searching indefinitely for an exact translated match.
Keep screenshots of the relevant interface in the language you play. If you ask another player for help, mention that language and the action you are attempting. An apparent missing tool can be a naming mismatch, while an identical-looking name can still refer to a different version of an item.
Do not assume a translation problem merely because the action fails. Confirm the ordinary tool-state and target checks first. Language is one possible source of confusion, not a universal explanation for an unresponsive interaction.
Stop testing when the original question is answered
If the correct tool performs the required interaction, continue the objective. There is no benefit in testing every nearby prop just to confirm the same rule again. Preserve the useful finding in a short note and spend your supplies on the task you came to complete.
If a controlled comparison establishes that one target remains inconsistent, keep that result and avoid escalating to unrelated changes. A reinstall, a new save, and a different controller all answer broader questions than a single unclear component. Use them only when additional evidence makes those questions relevant.
The most efficient outcome is either a completed interaction or a precise unresolved question. Both are better than repeatedly using the wrong tool because an old clip once showed it working.
When documenting a working interaction, include the component that changed, not only the tool name. That small detail helps you reproduce the solution later and distinguishes it from a neighboring part of the same machine.
Sources & verification
This article combines cited facts with practical editorial advice. Follow the version and uncertainty notes before applying an older route.